Creating and analyzing a historical analysis case example
This topic is intended as a getting started example of how to create a case and view it on the ESPA analysis center and is a good place to start if you are just getting started using OSS-ESPA for a historical analysis.
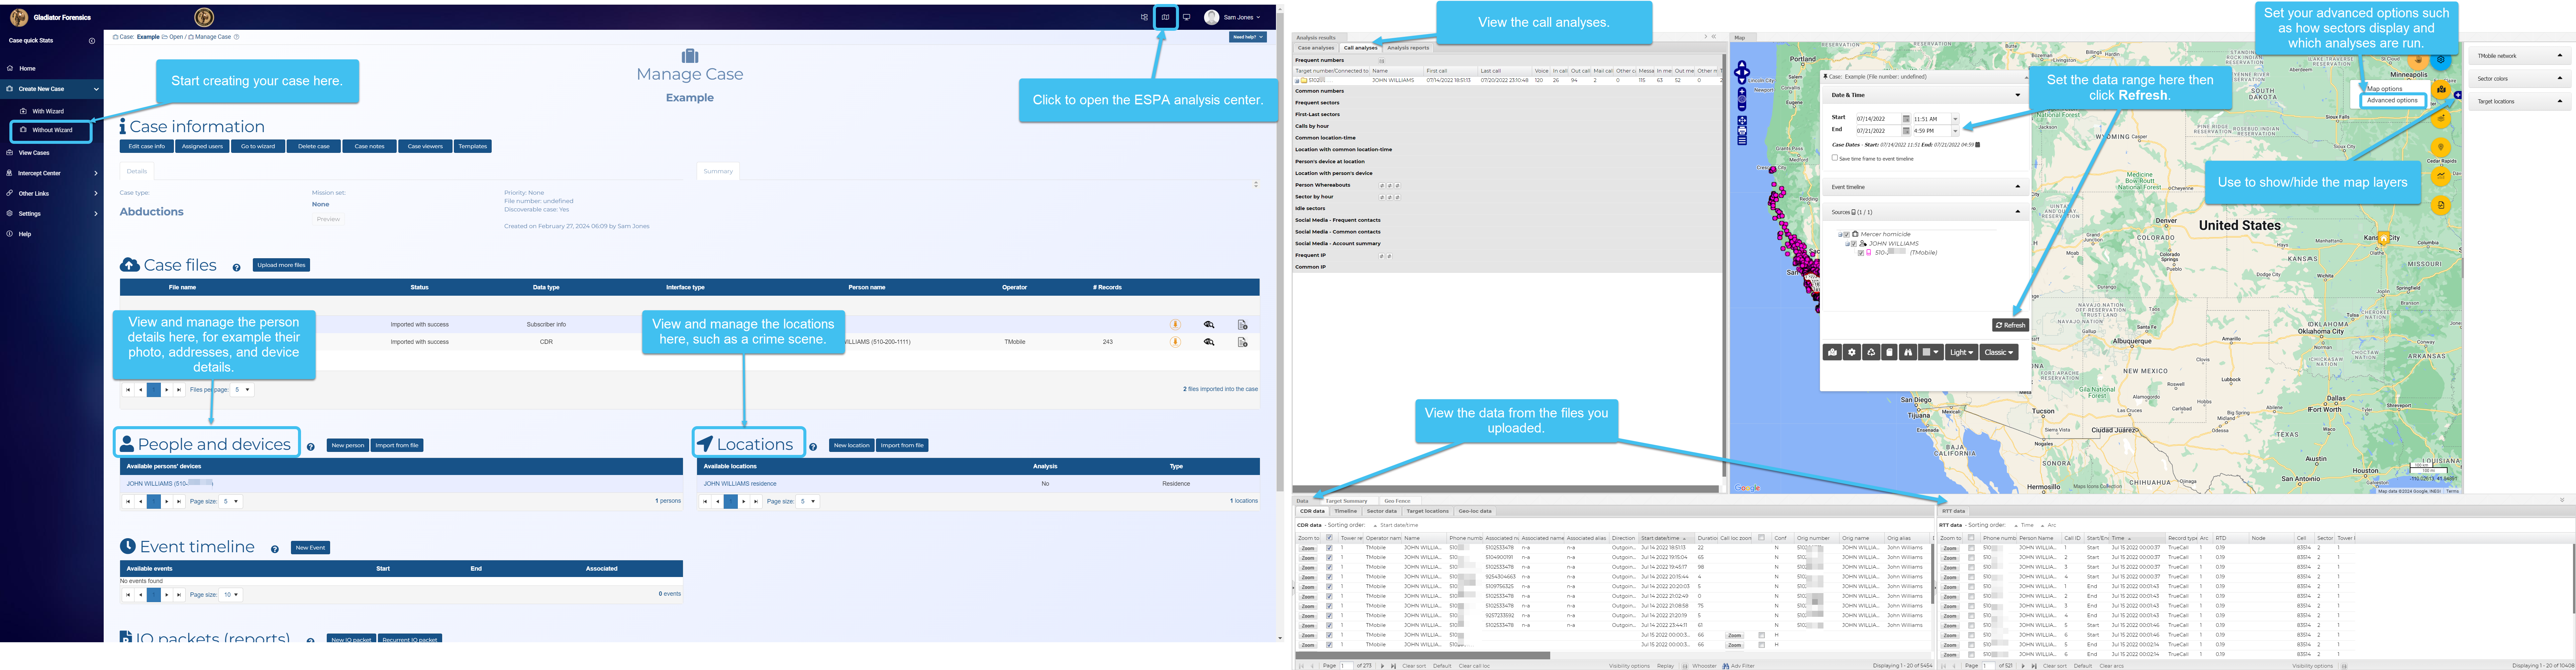
To create a case, from the main menu click Create new case, Without wizard then complete the required case details. You can then upload your files and ensure the correct persons and locations are in your case. To analyze your case open the ESPA analysis center by clicking  , select the required data range then click Refresh. You can now use the Data view, Case management view and the Map view to analyze the case. For further information click the link below.
You can also click here for a short video showing how to create and analyze a historical case.
-
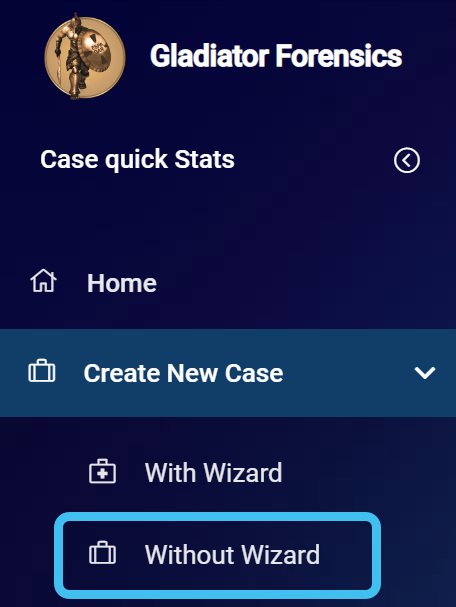
Click here to create a new case.
Alternatively on the main menu click Create new case then Without wizard.
The Create new case screen opens.
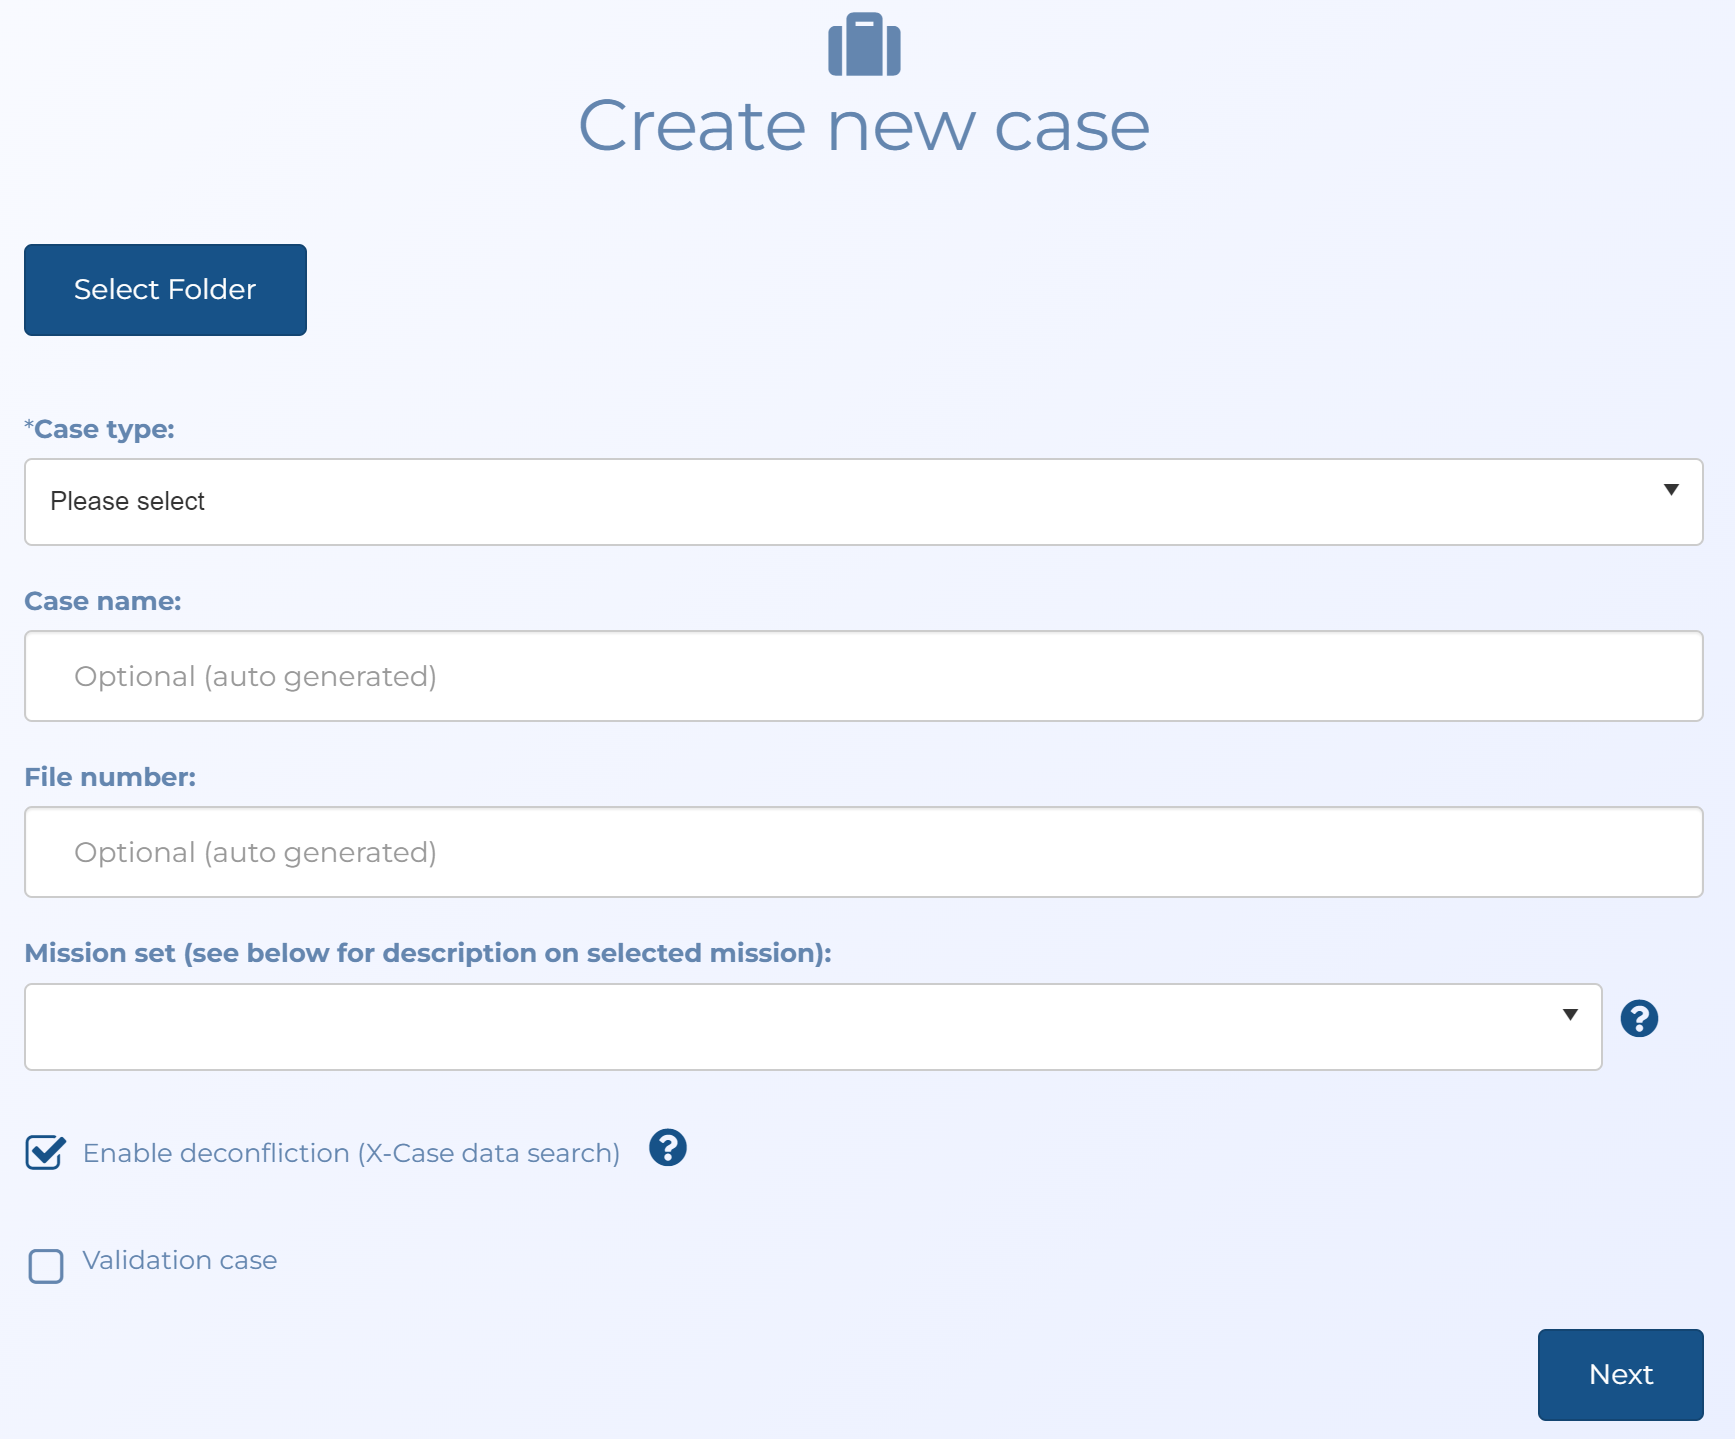
- In Case type select the type of case. This selection simply helps you filter cases in the future making them easier to locate.
-
In Case name, although it is optional it is recommended that you enter a name for the case so that the name means something to you, for example "Jewelry Store Robberies". However if you do not, OSS-ESPA automatically creates one which is titled using the format "Case <n>", where <n> is a number which increments each time a user on your OSS-ESPA account selects to automatically generate a case name.
-
In Mission set, you may want to select one of the pre-defined mission sets depending on your case's objective. If you do, a preview of the analysis results is automatically generated.
-
The Crime scene/Location analysis mission set can help you to locate a person so that you can either include or exclude them as potential perpetrators of the crime.
-
The Historical pattern of life analysis mission set can help you locate a person's potential location based on an analysis of their previous locations during the calendar week.
-
The Real-Time location monitoring through GPS Track mission set can help you to locate and monitor the current location of a person.
-
-
Ensure Enable deconfliction (X-Case data search) is selected if you want the case data to be visible and usable for all account users if they do an identifier search for an identifier that occurs in your case. Identifiers can be phone numbers, IMSI, IMEI, names, license plates, and social media accounts. For further information refer to Enable deconfliction (X-Case data search) .
-
Click Next.
Your case is created and the Manage case screen opens.
-
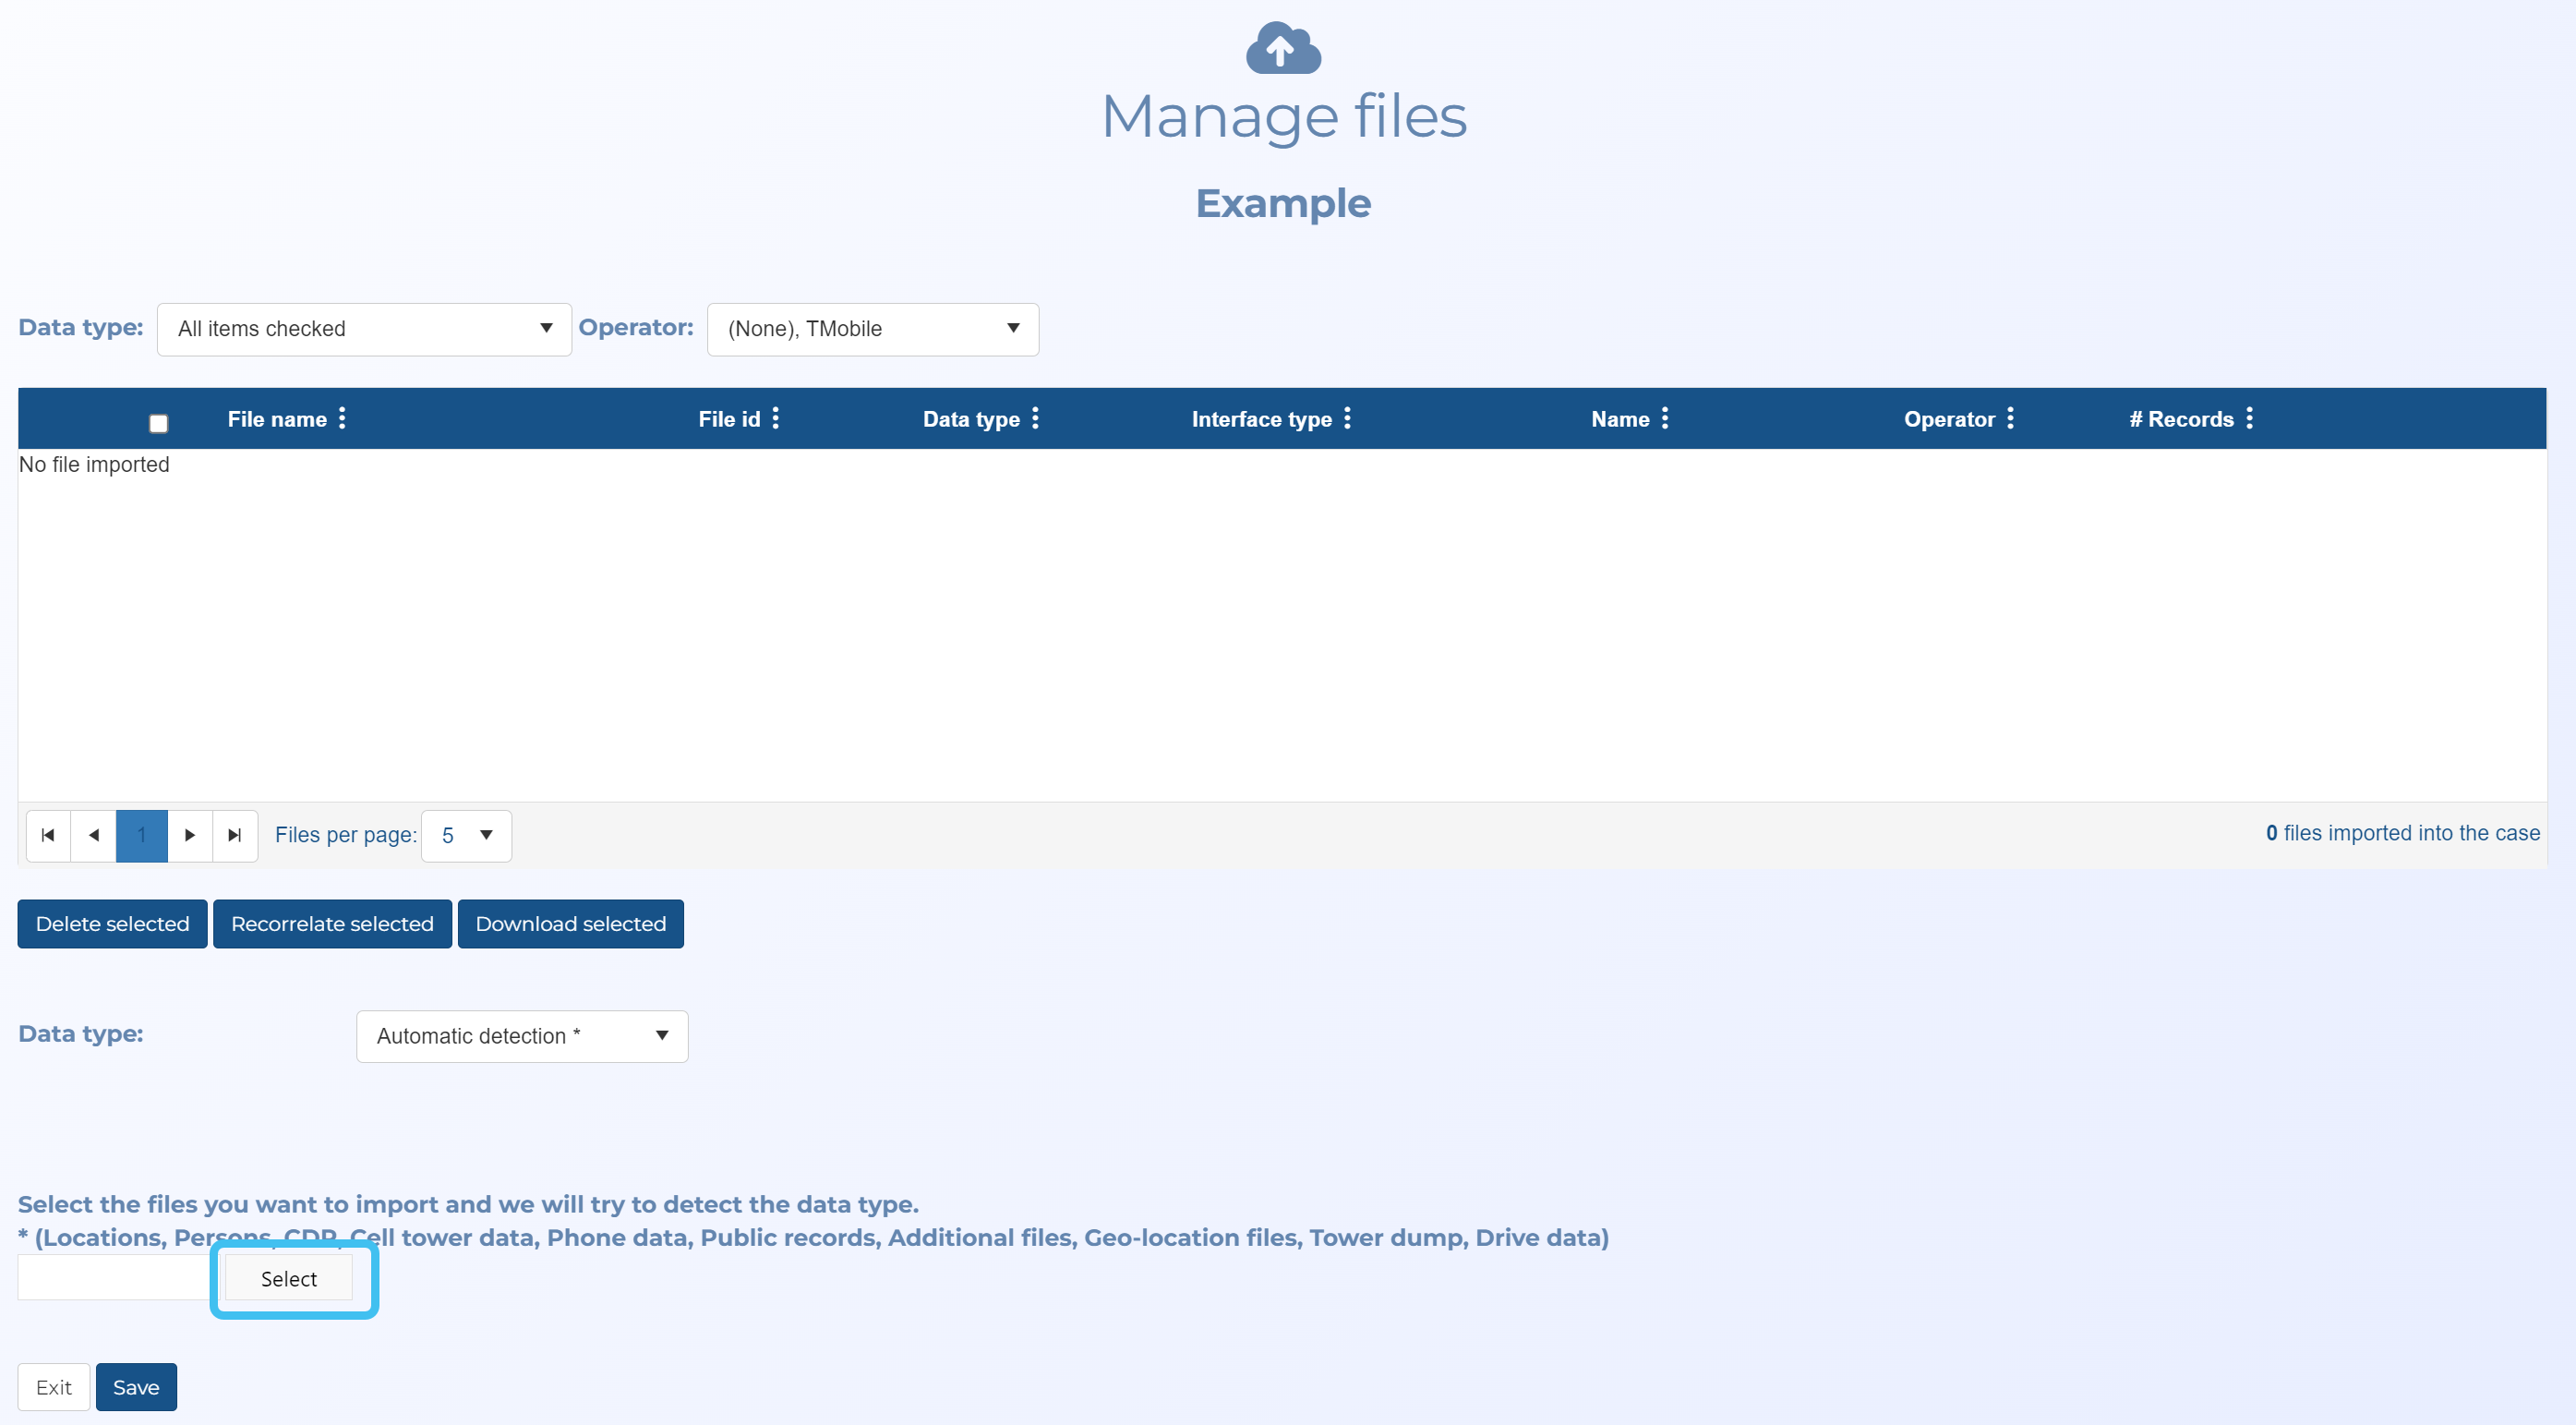
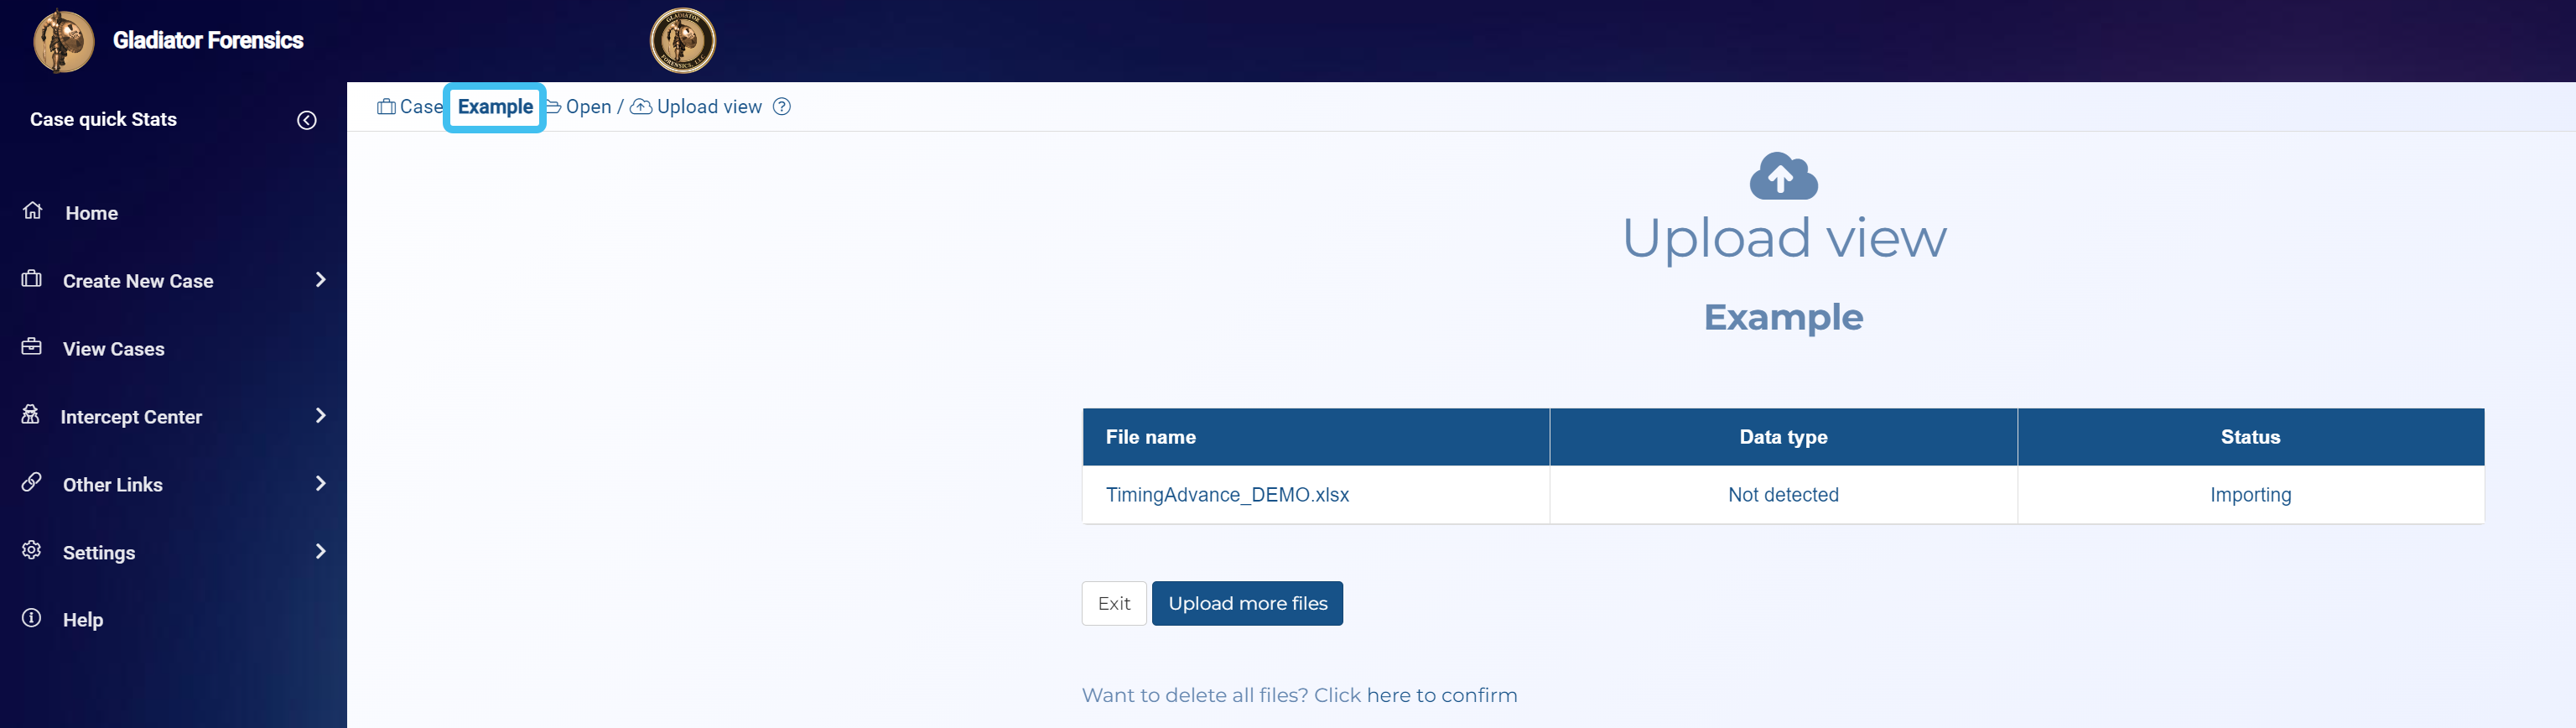
Click Upload more files.
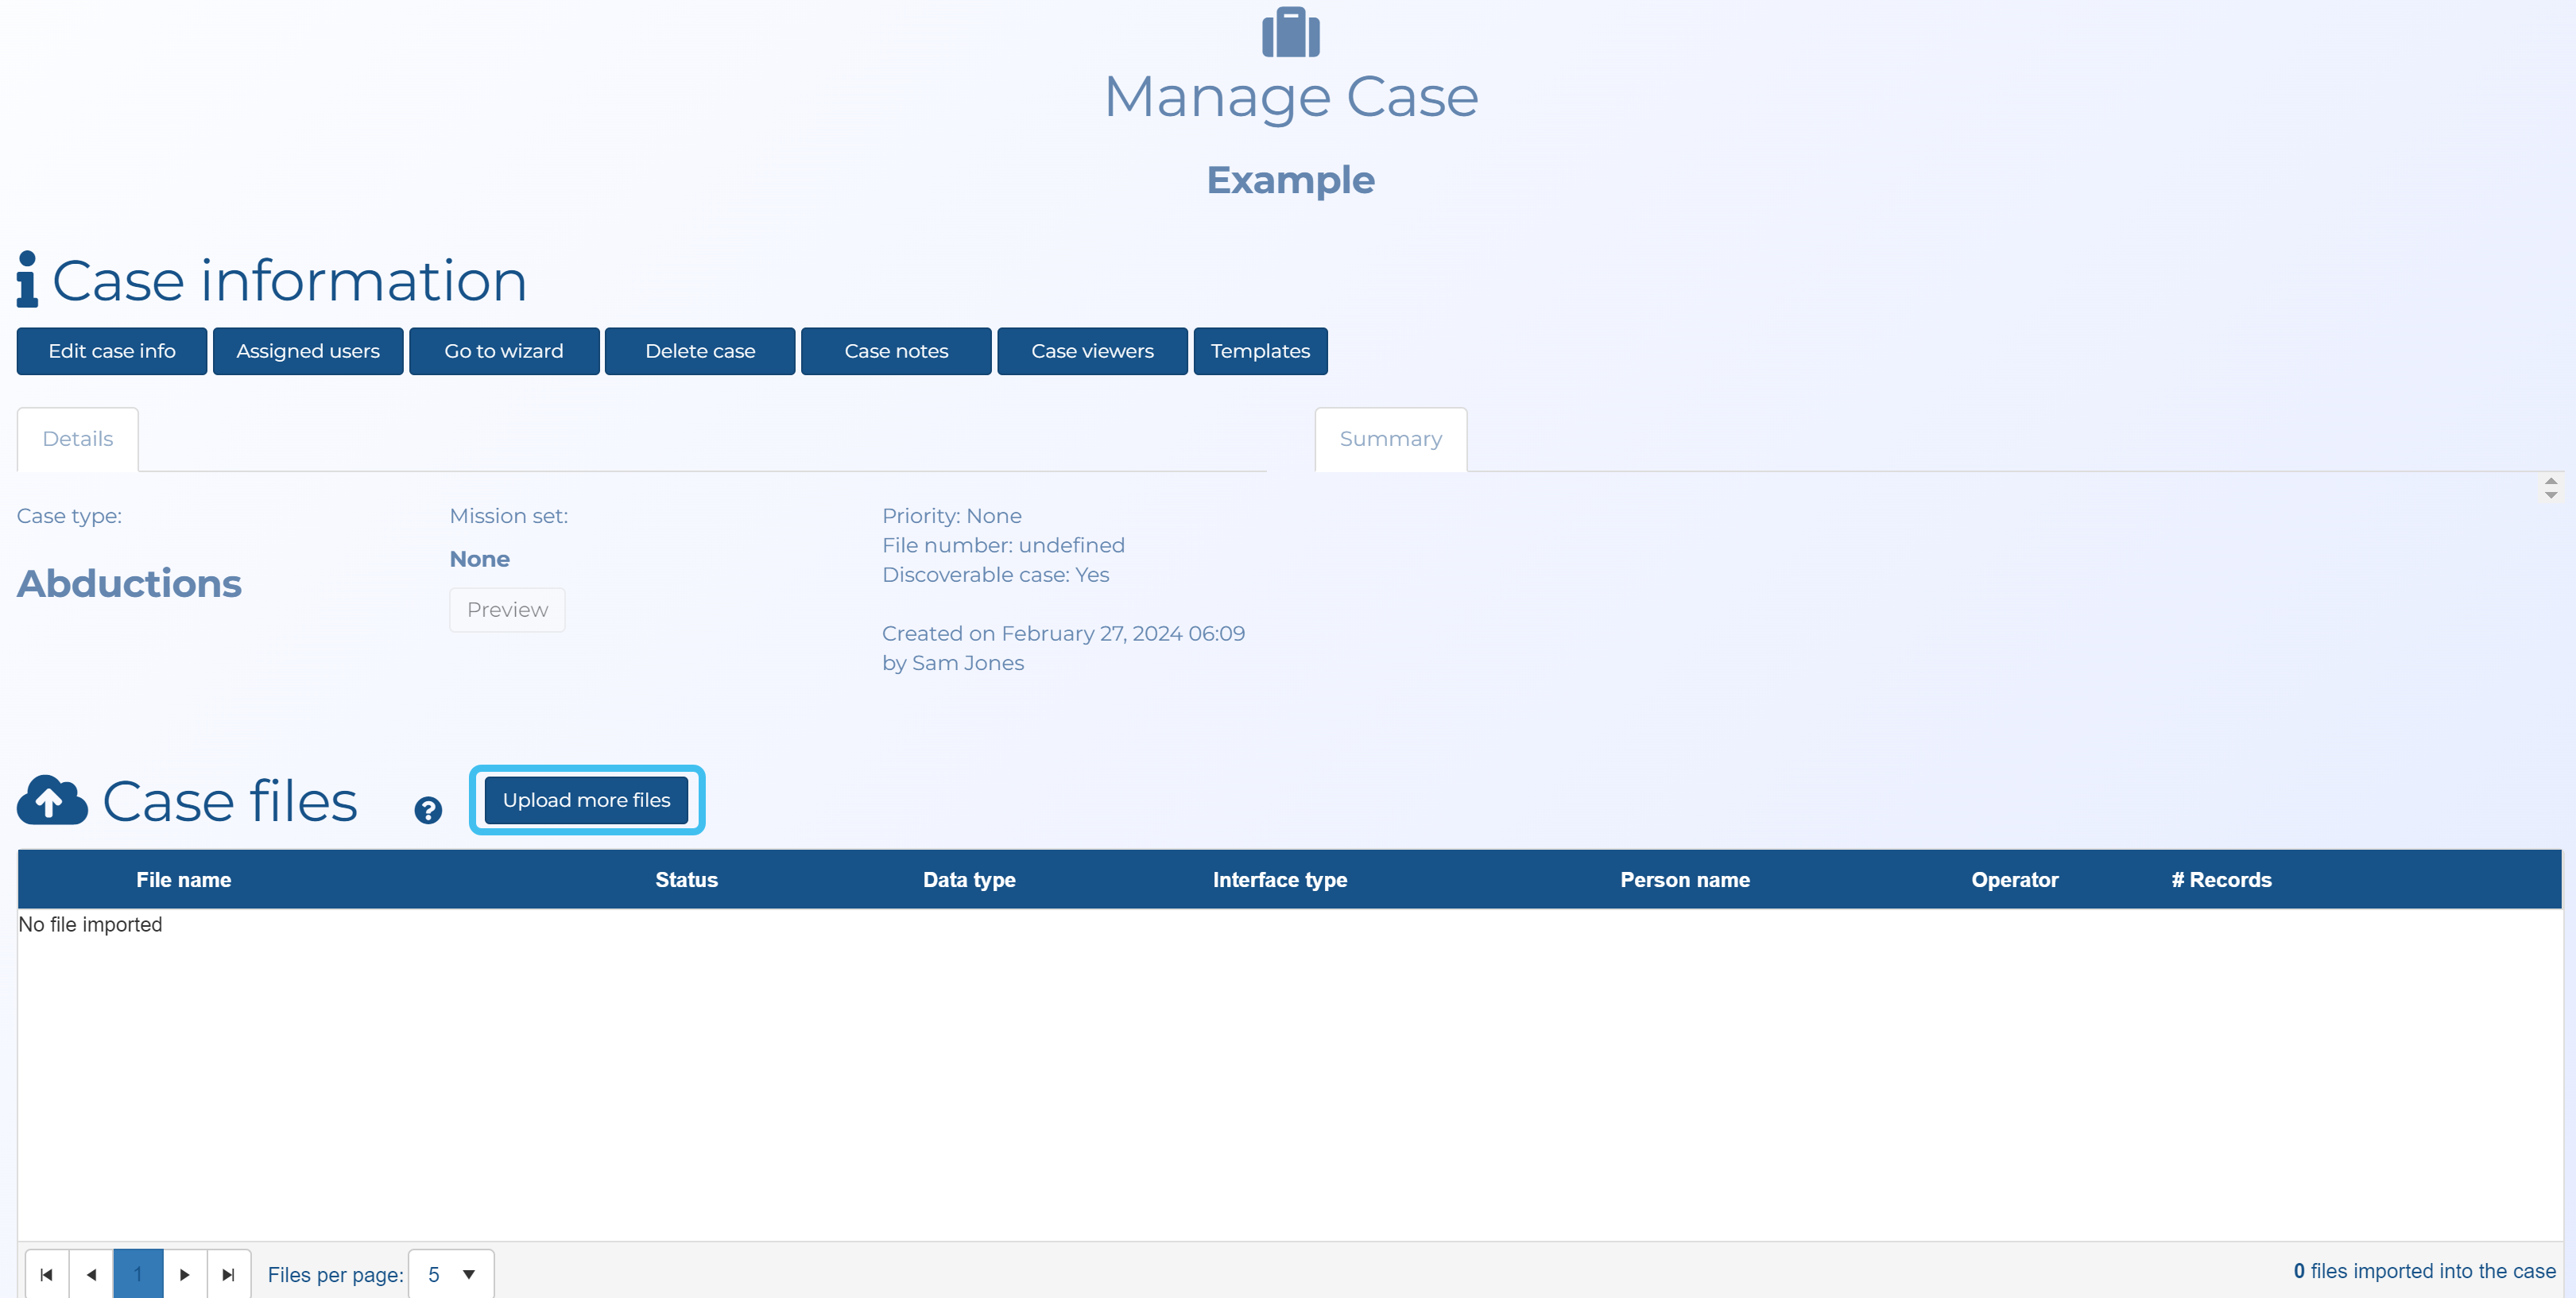
The Manage files screen opens.
-
Click Select. Windows Explorer opens. Navigate to the folder and select the required file.
In the following example, the target phone is a T-mobile phone with three associated files.
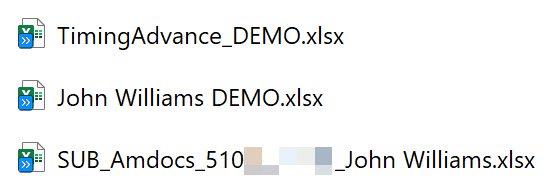
In this example it is first recommended that firstly the subscriber file is selected which allows OSS-ESPA to create a person with their known addresses, then the CDR file, then click Save.
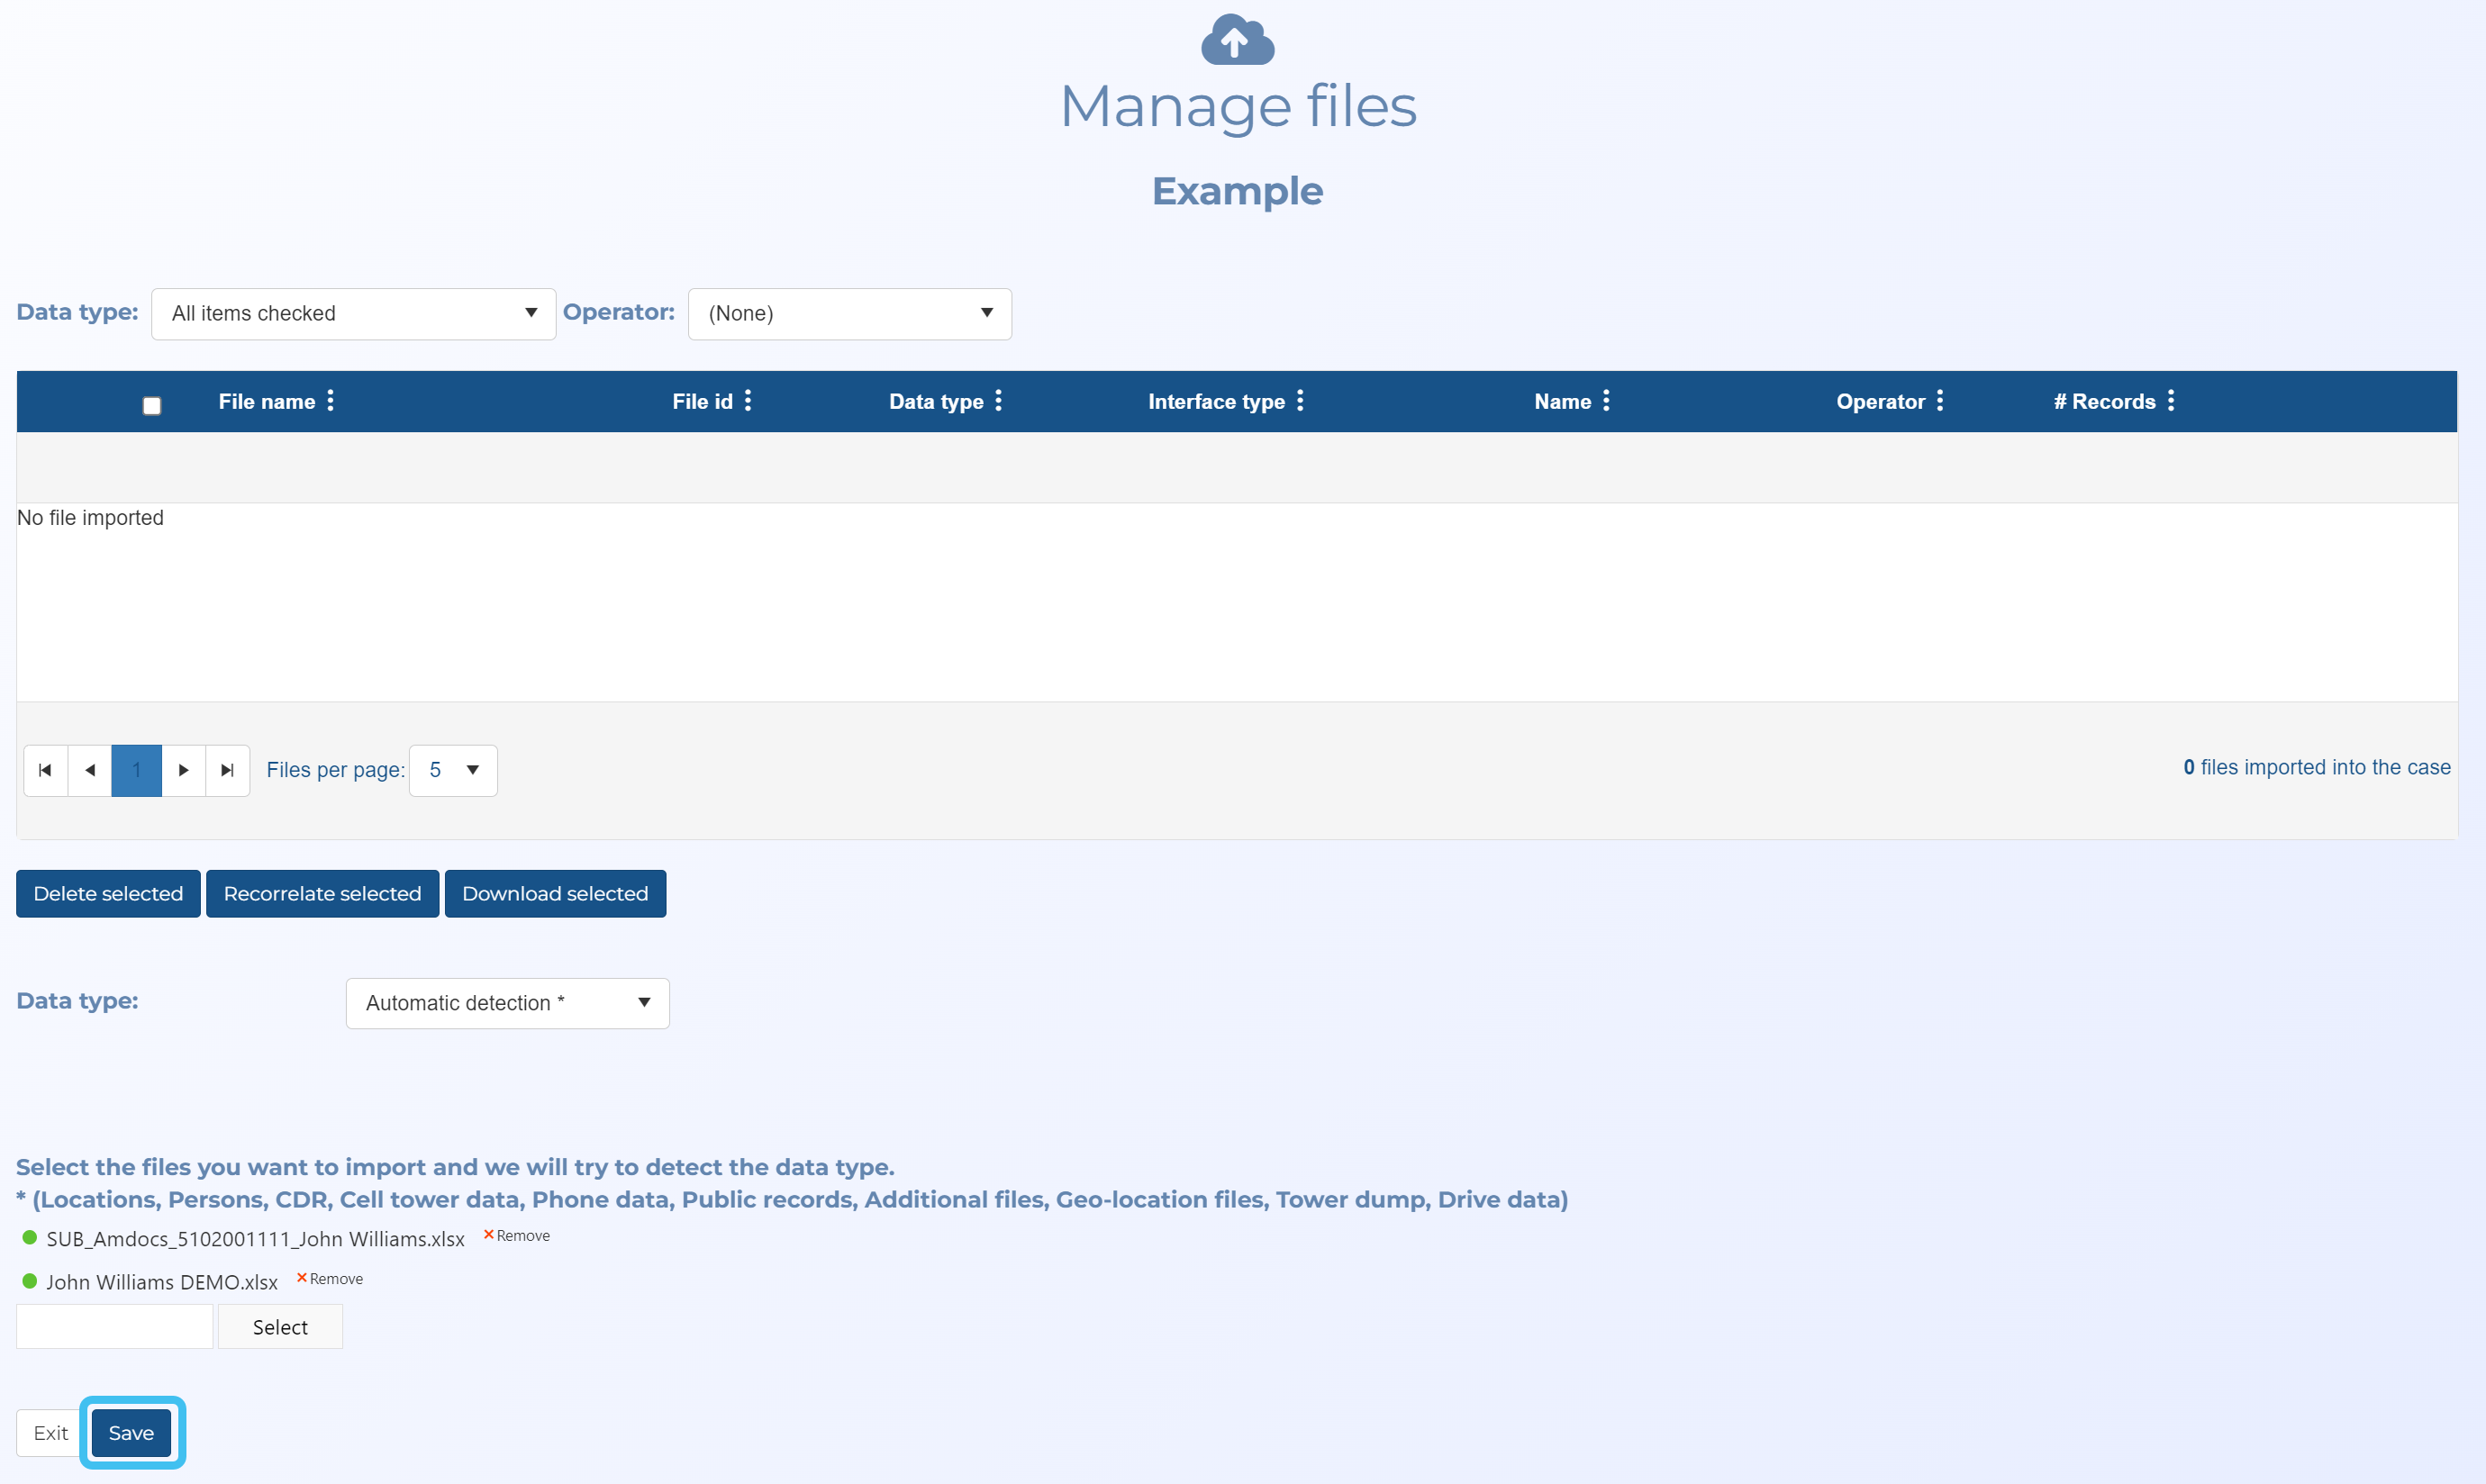
The Upload view screen opens. Click Upload more files, then select and upload the timing advance file; by uploading this last OSS-ESPA is able to match the file to the target.
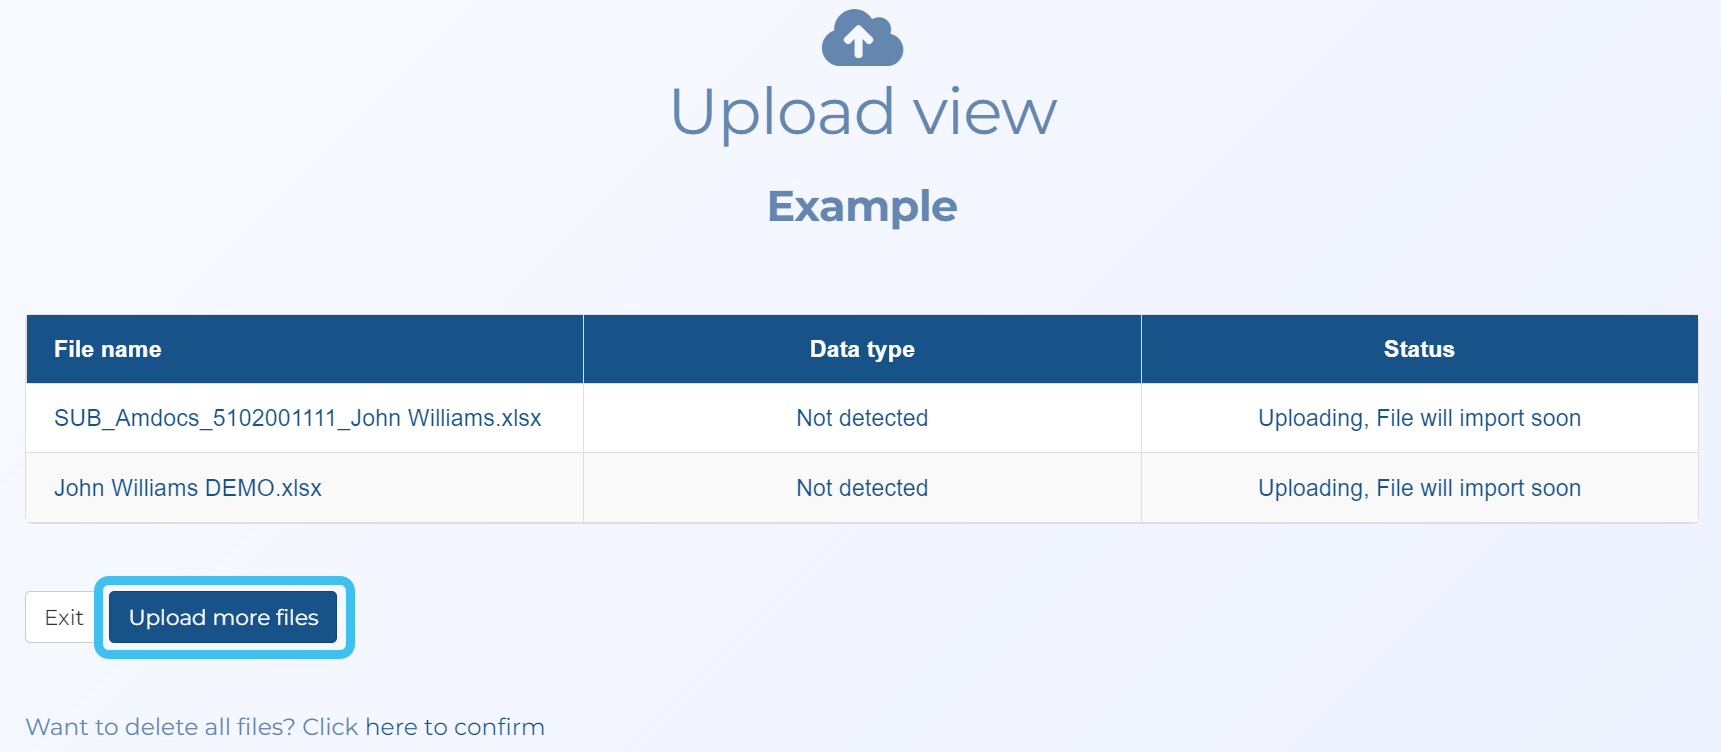
If your timing advance file automatically creates a person with a 999-999-999x number, refer to To reassign a file such as a 999-999-9999 number.
If you require more information refer to Managing files.
-
Click the case name, at the top of the screen, to return to the Manage case screen.
-
If you want to view, edit or add a new person, then click the People and devices title.
Note, if you want to go directly to a specific person you can also click their name in the table.
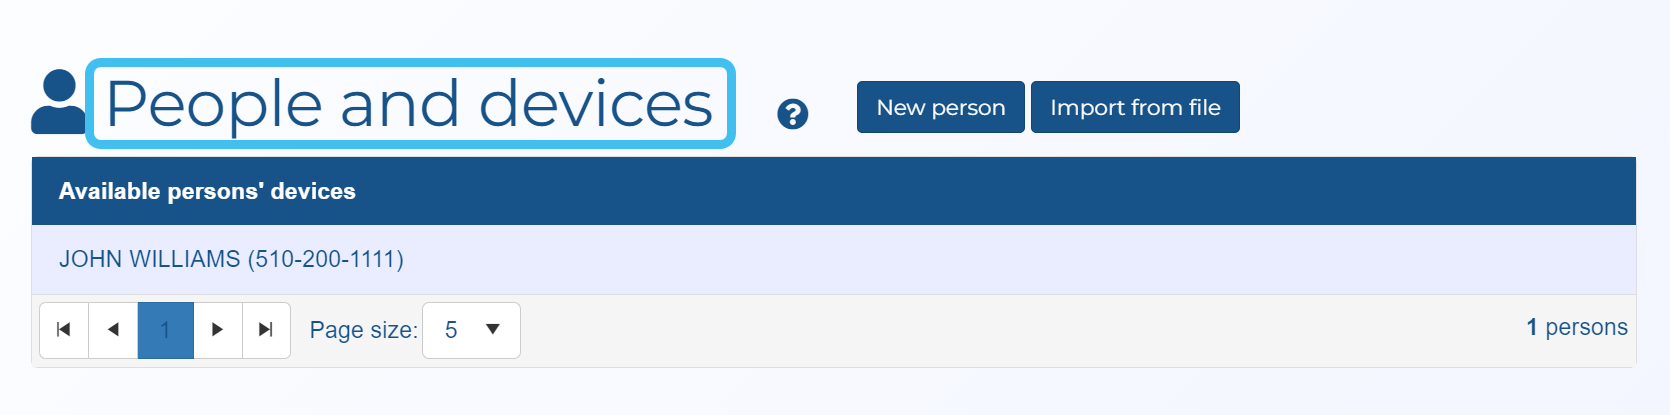
The People and devices screen opens.
-
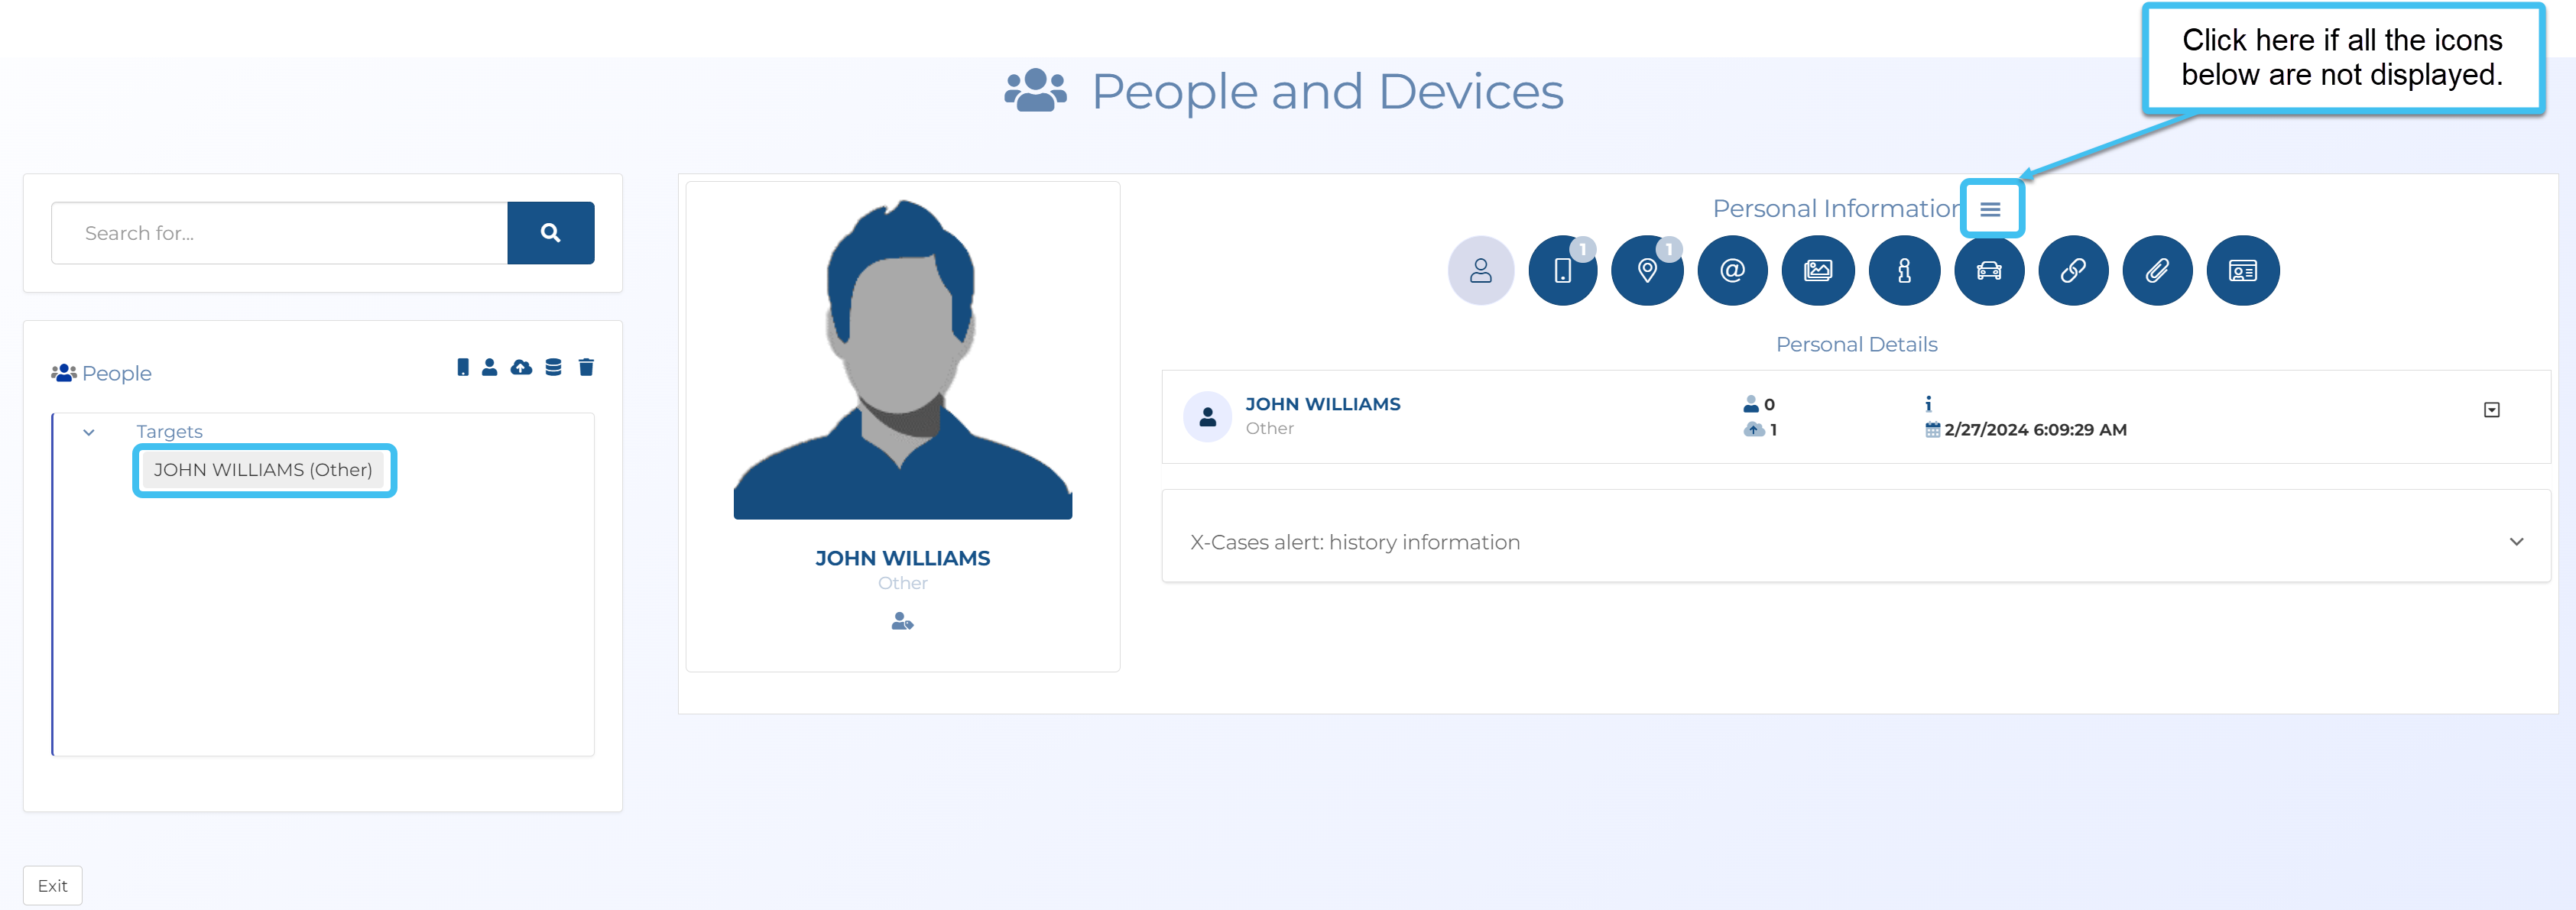
Click on the target's name to open their personal information.
-
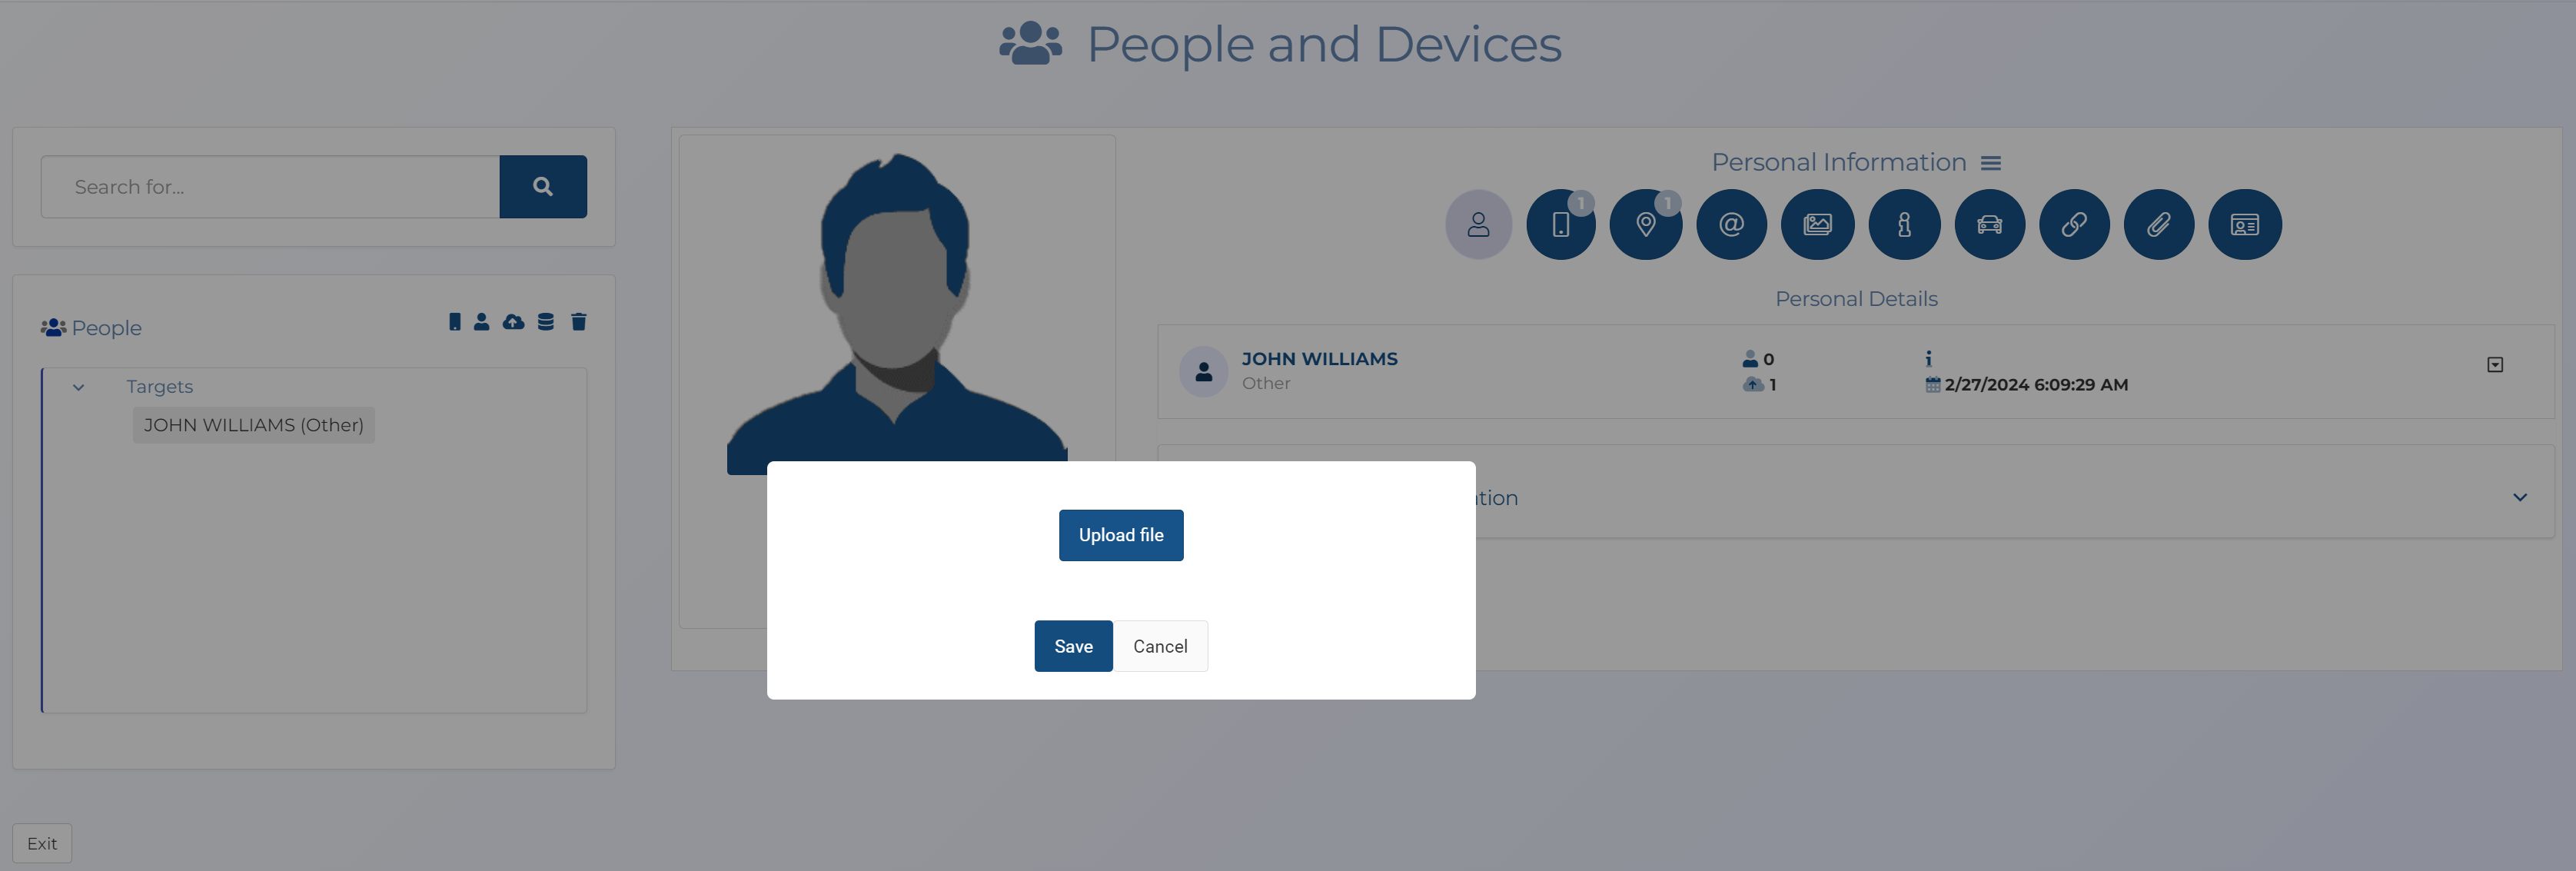
To add an image of the person, click on the image.
-
Click
 to display the person details. Edit as required, then click Save.
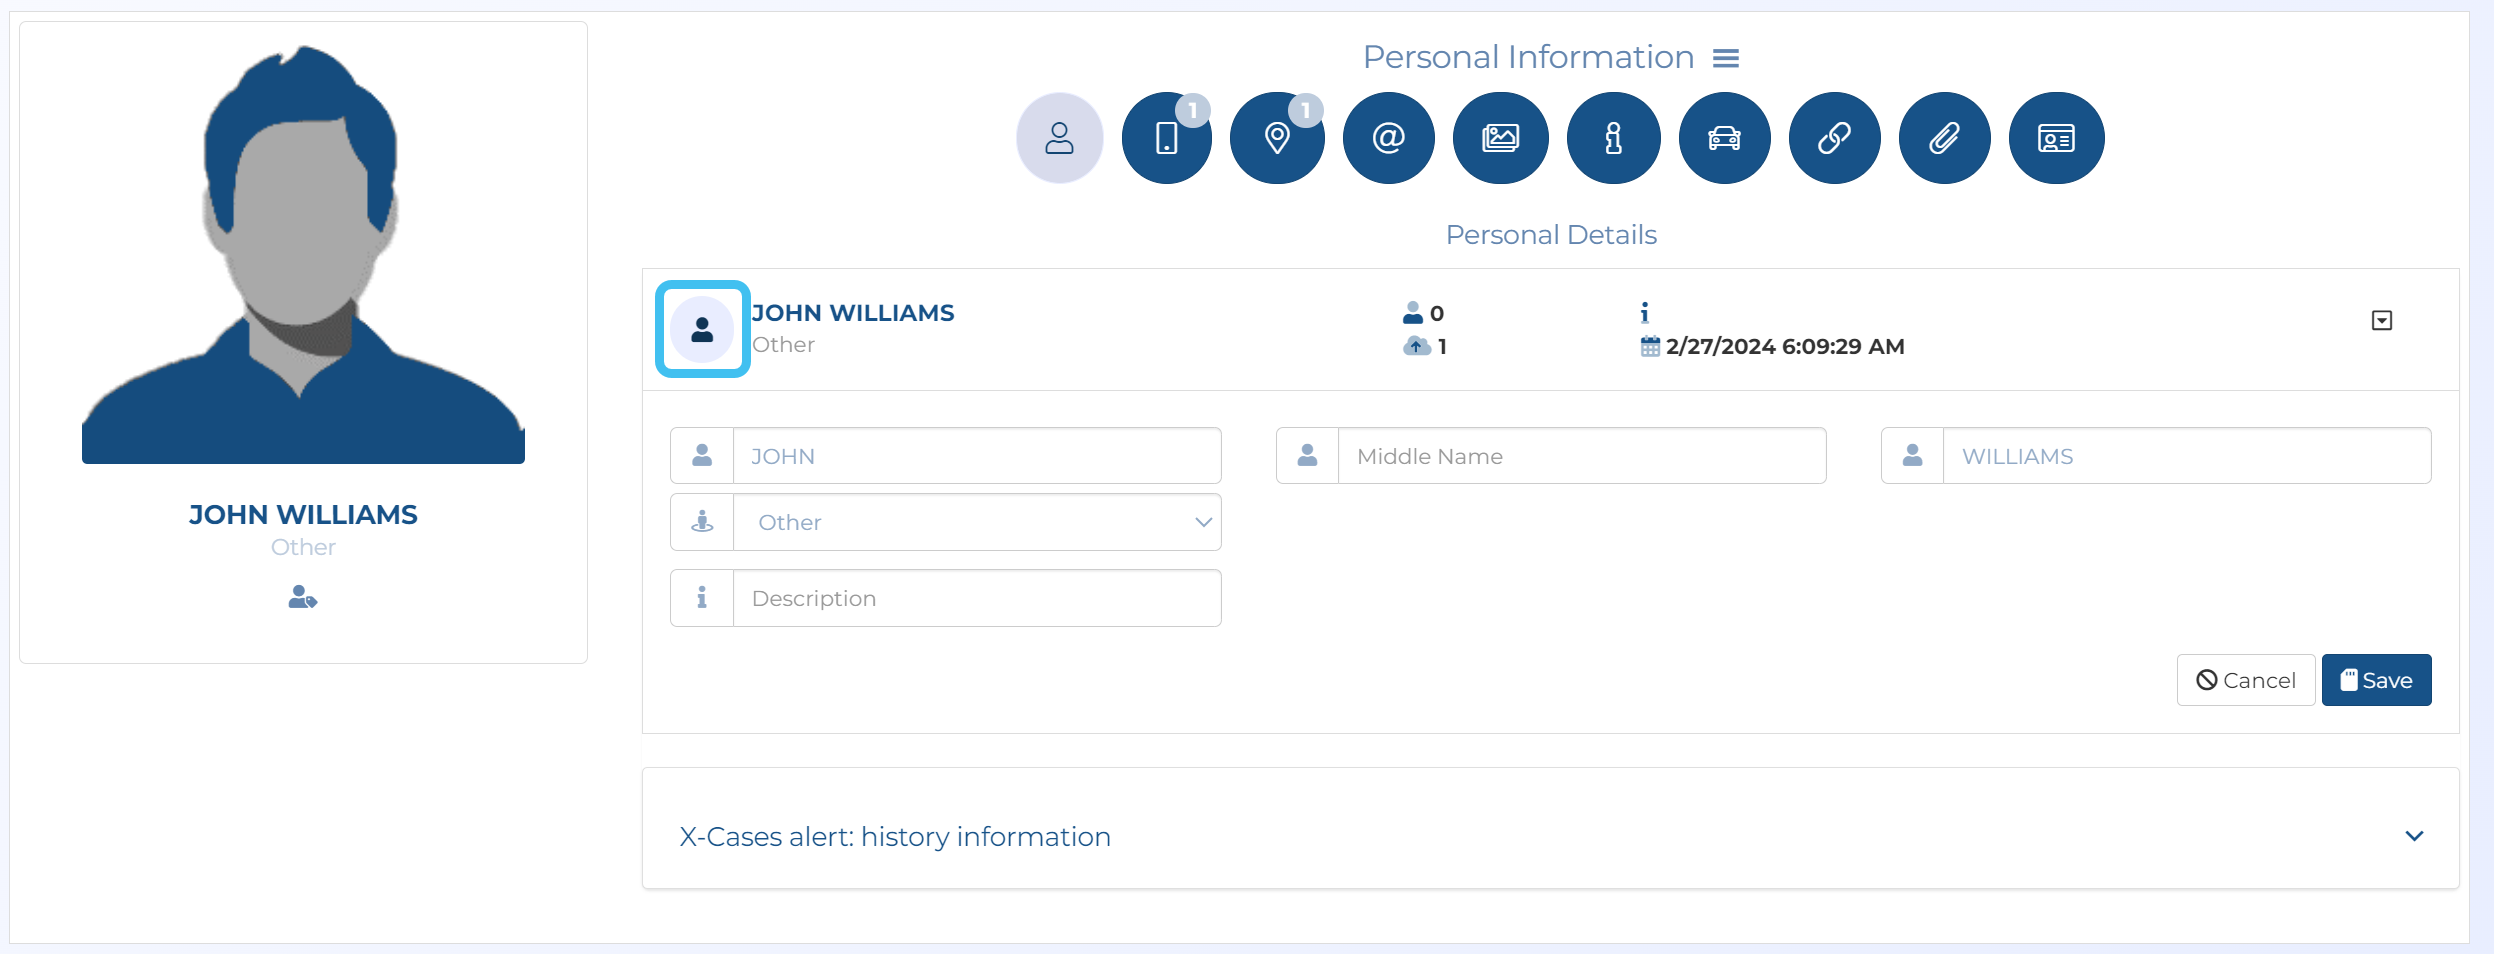
-
Click
 to open the Phone numbers tab.
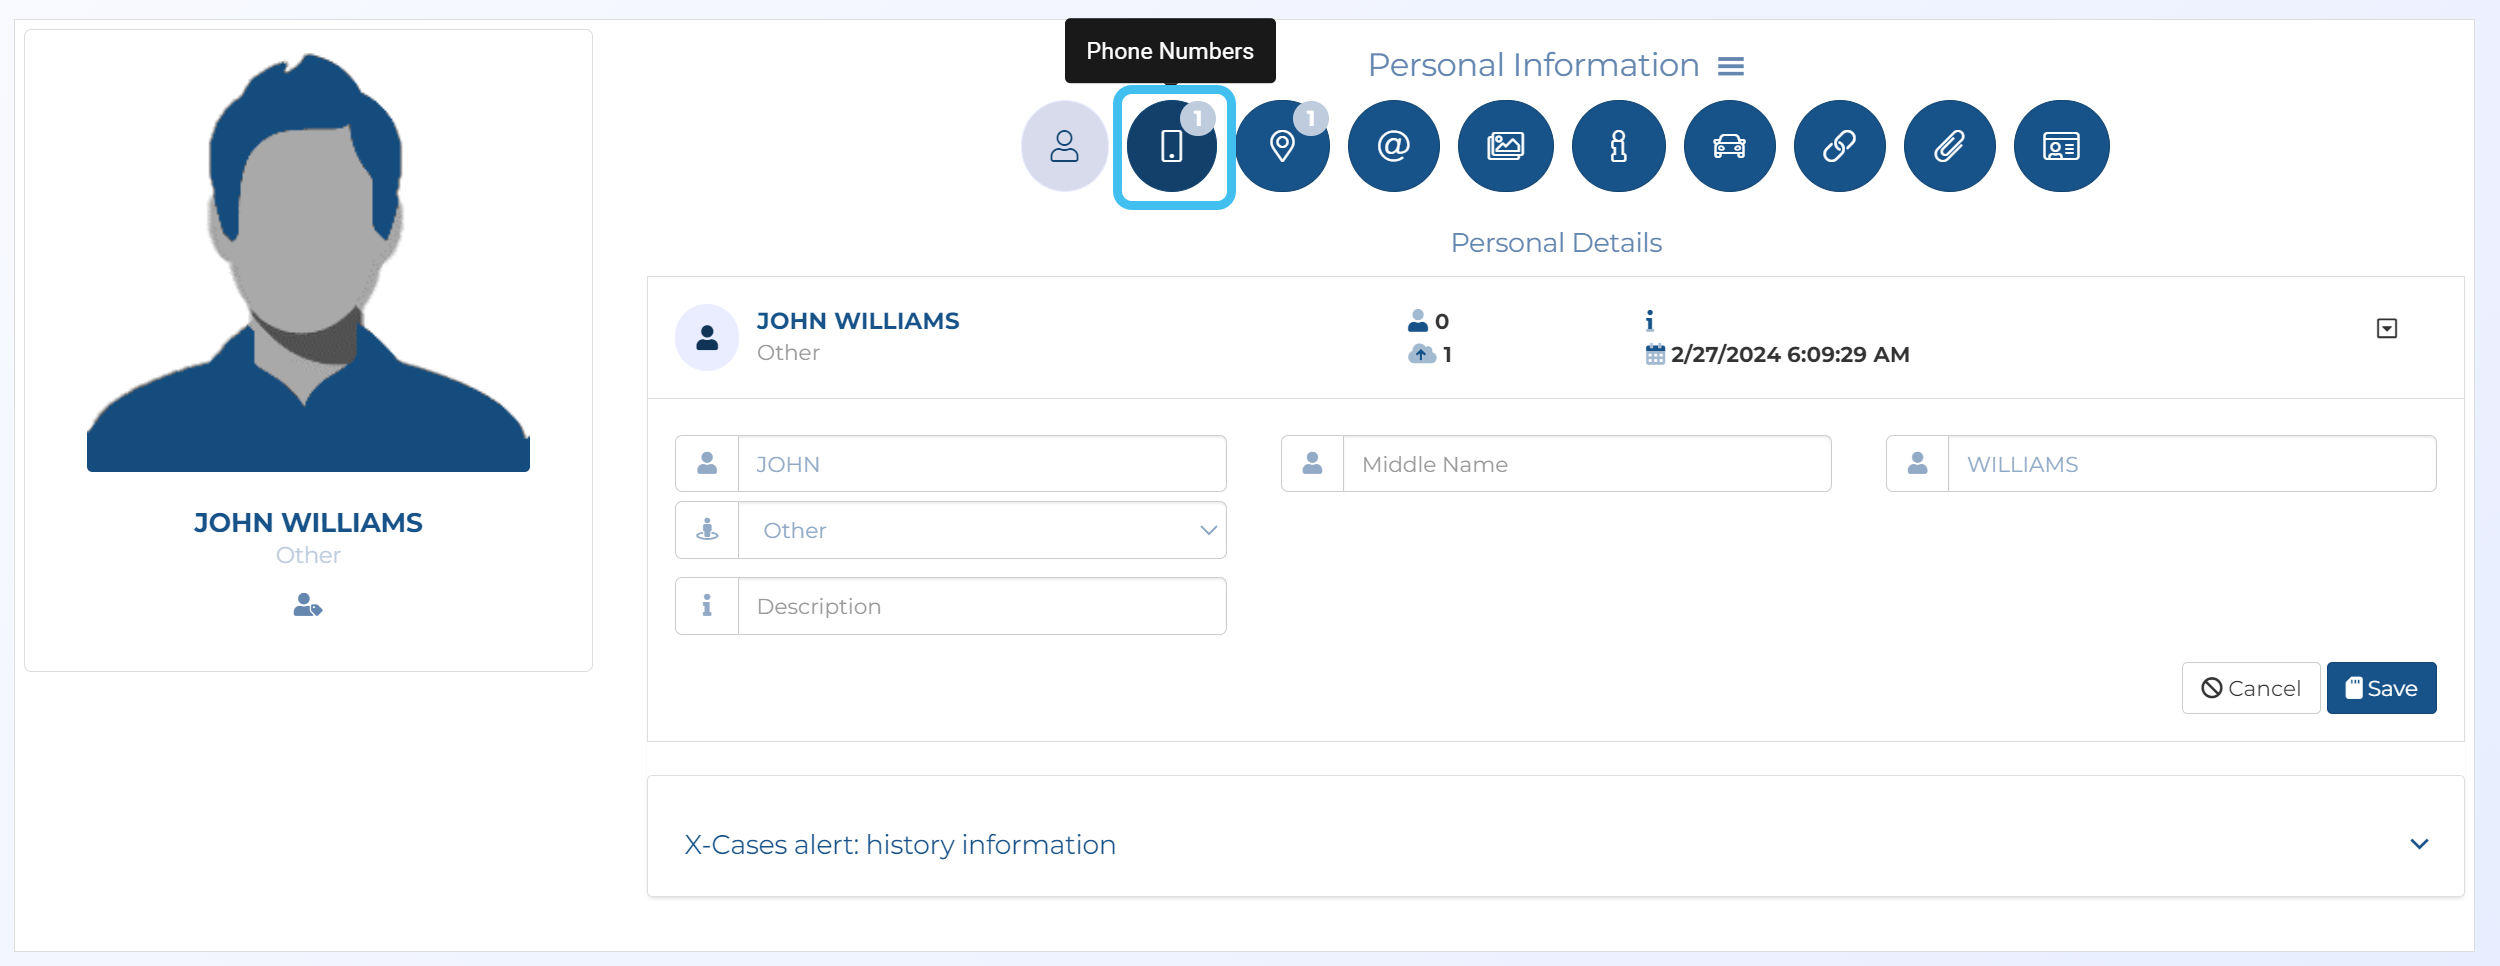
-
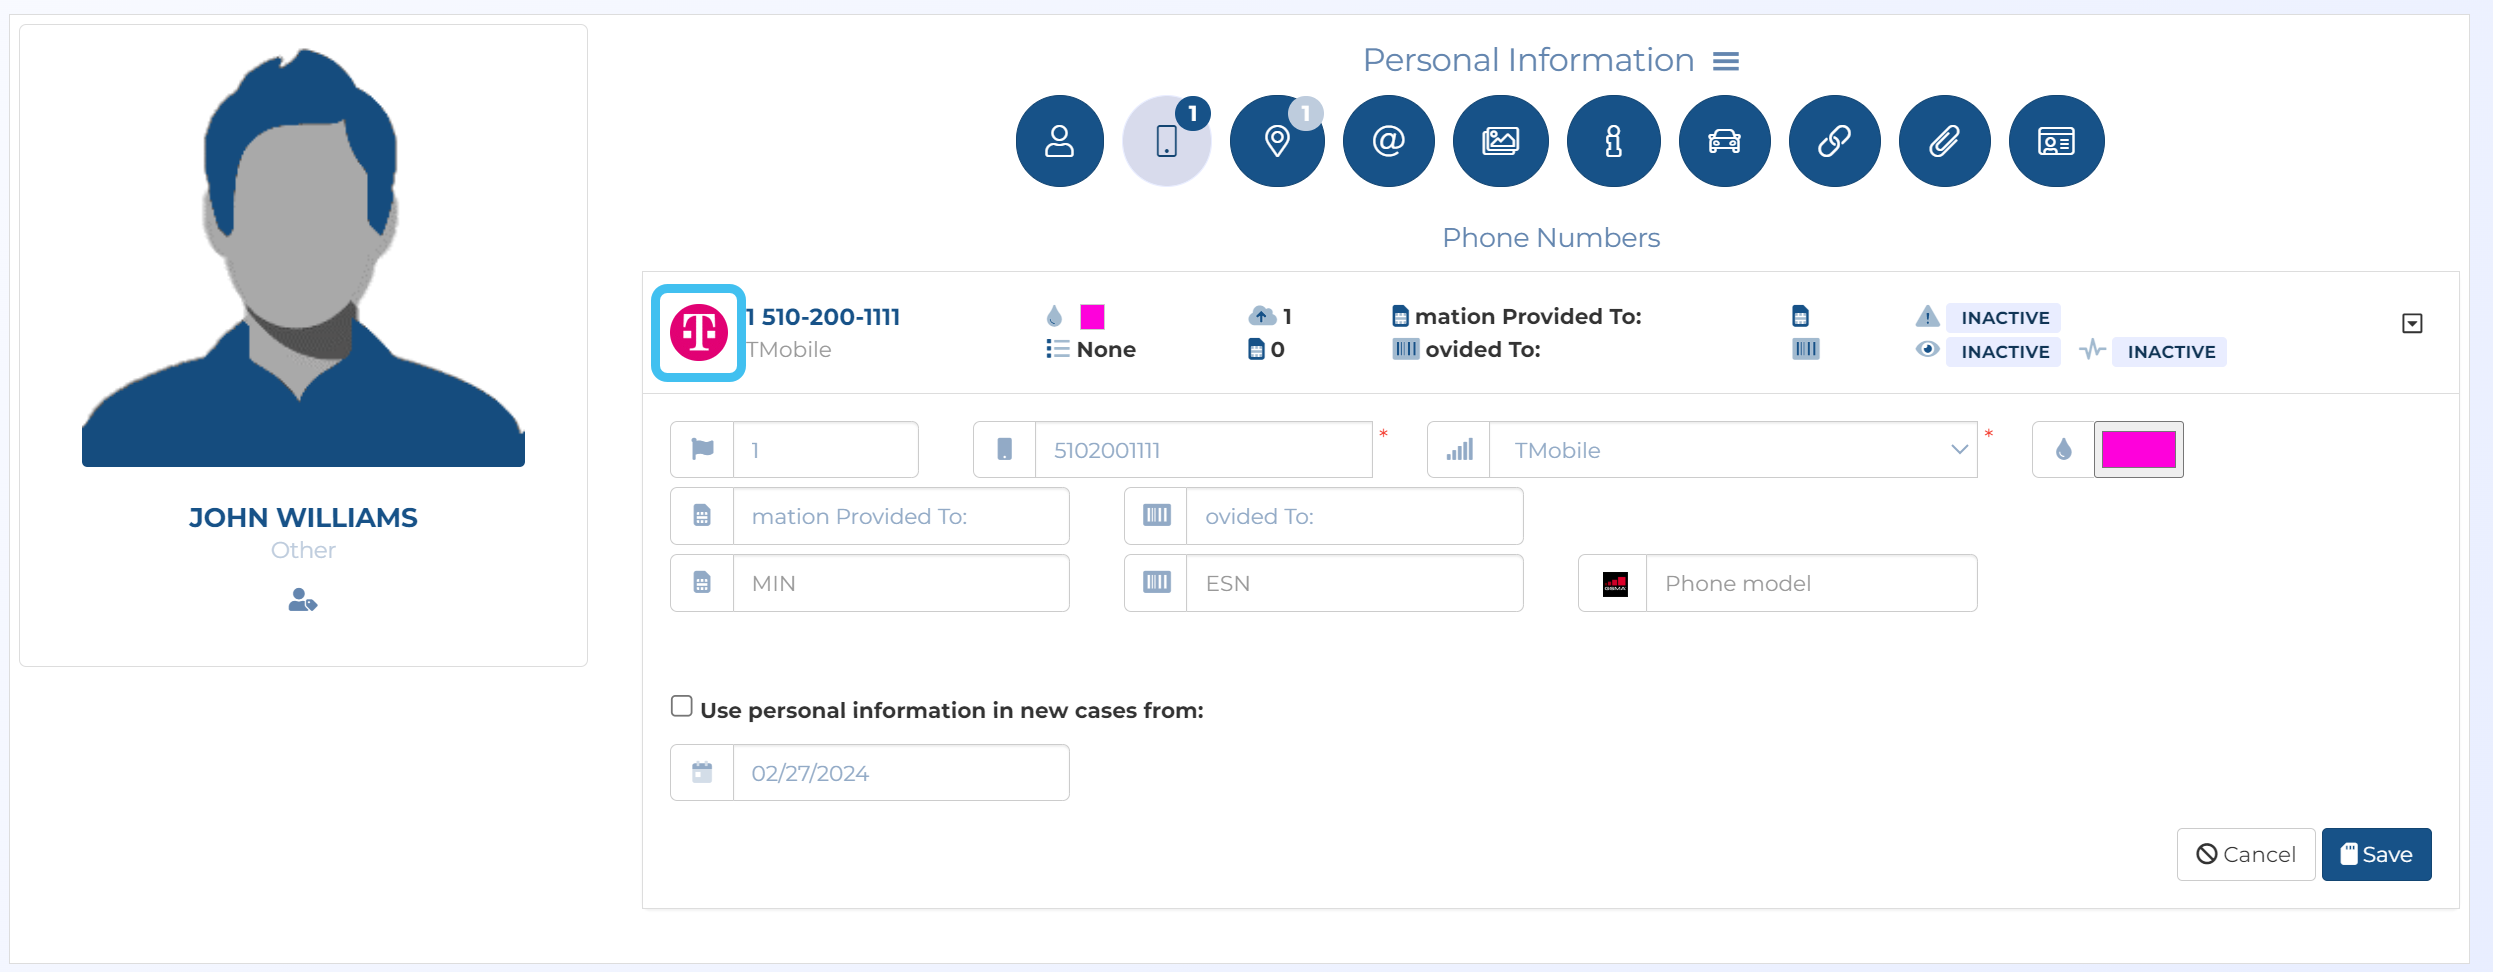
Click the operator icon to display the phone number details. Edit as required, then click Save.
-
Click the case name, at the top of the screen, to return to the Manage case screen.
If you require more information refer to Managing persons.
-
-
If you want to view, edit or add a new location, then click Locations.
Note, if you want to go directly to a specific location you can also click the location name in the table.
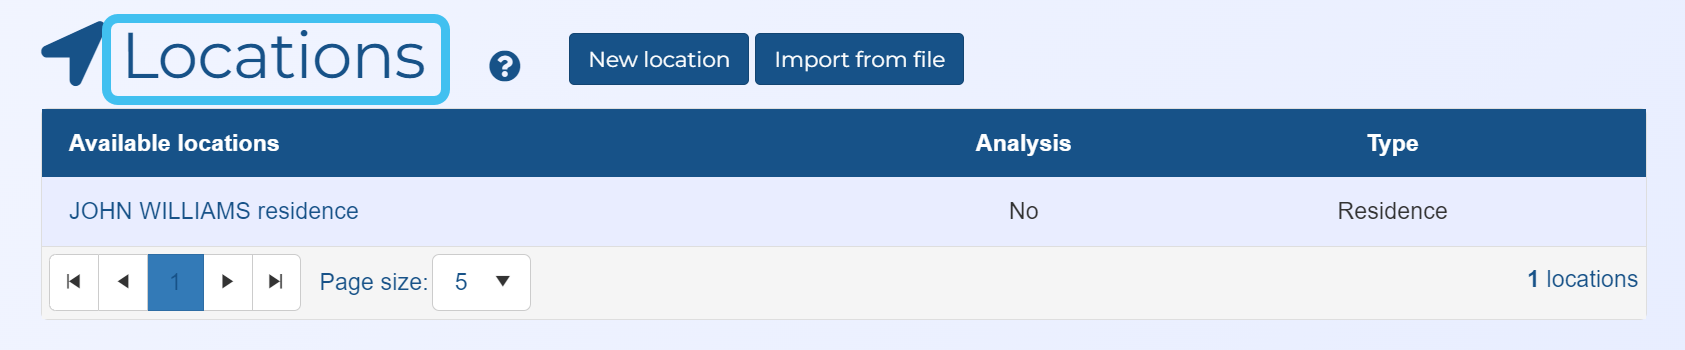
The Locations of interest screen opens.
Complete the information on the screen as required. If you require a description of any settings refer to Locations of interest screen (Case management). Note, to initially create a location you must enter a minimum of Name and Location type, for example "Victim's home" and "Crime scene" respectively.
In addition, to then use your location in OSS-ESPA you must enter additional details depending on the type of location you want to create. There are two types of locations you can enter:
-
the first is referred to as a View location and is simply a location that is of interest that displays on the ESPA analysis center screen and the IQ packet report's map views. This requires you to enter the location's Latitude and Longitude. These can also be added by entering the Street address, Postal code then clicking Locate.
-
the second is referred to as an Analysis location, for example a crime scene, that compares the wireless records against the location producing a number of analyses that use the location. If you want the location included in analyses you must set the Time buffer, Event Start, Event end, Location buffer, Latitude and Longitude. You must also also select Include this location in analytics if you want to: For further information on location analysis, refer to Understanding location analytics.
If you require more information refer to Managing locations.
-
-
Once you have completed your case details you can now visualize and analyze the data on the ESPA analysis center. Click
to open the ESPA analysis center.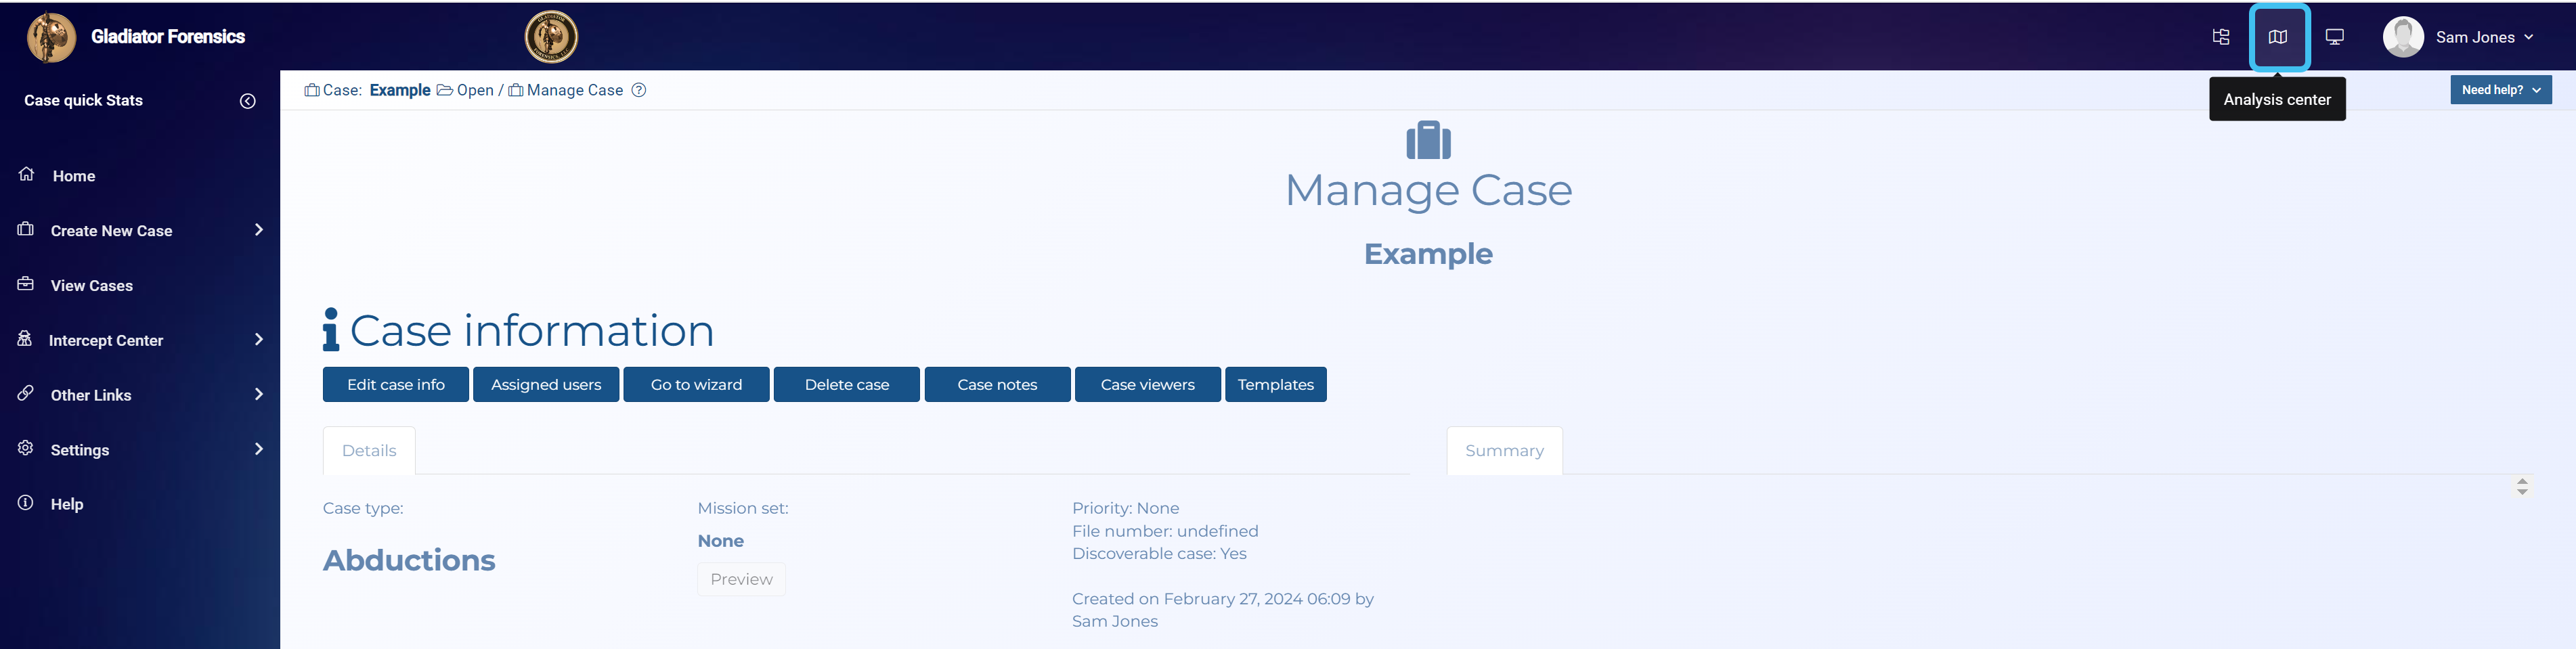
-
On the Input and settings view, in Date & Time, enter the time span that you want to analyze then click Refresh.

-
Once the data is loaded, click the arrow at the top-right of the Input and settings view to minimize it.

NOTE: The ESPA analysis center cannot convert CDR data that does not have a matching tower to your local time zone as there is no reference to the device's location. If you do want to convert unmatched records to your local time zone, refer to Making timezone adjustments.
-
Before or during your analysis you may want to ensure you are using your required settings on the Advanced options dialog box, to do this:
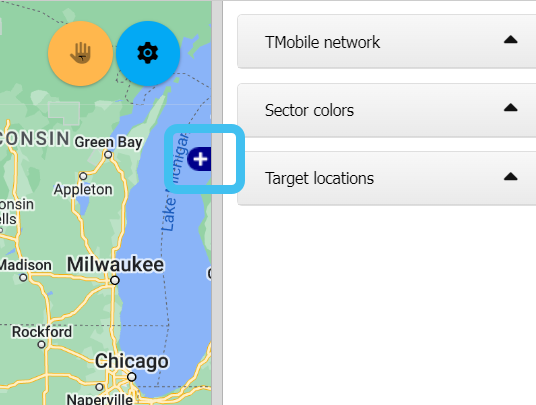
- Hover over
 on the top-right of the map.
 -
Click
 then select Advanced options from the menu.
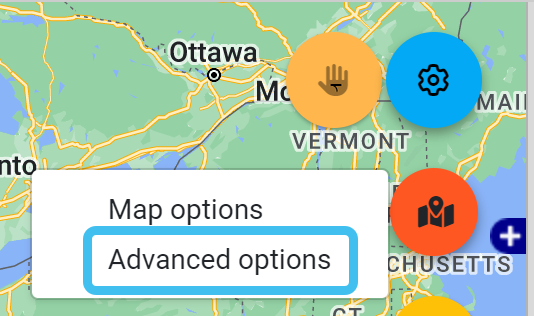
The Advanced options dialog box opens. Some of the common settings that you may wish to edit are:
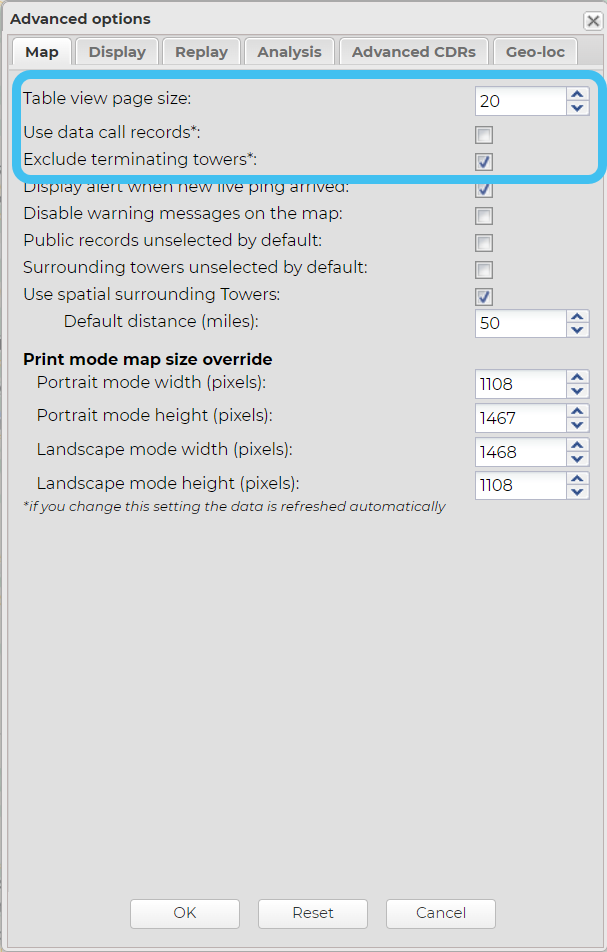
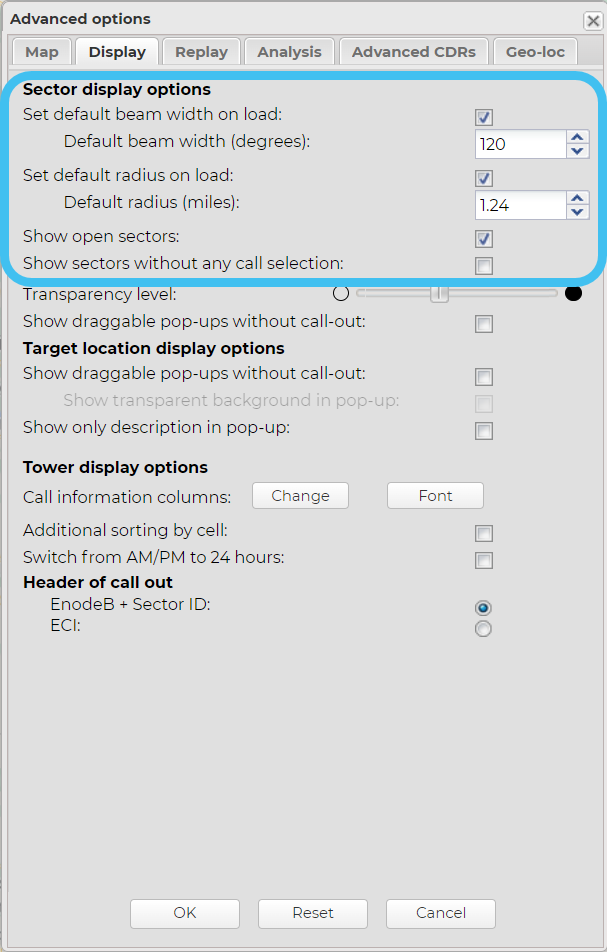

If you require more information refer to Using the advanced options and the Advanced options dialog box.
- Hover over
-
You can select to hide or show each map layer using the layer selection settings located in the upper right corner of the map by clicking
 .
.
If you require more information refer to Viewing different map layers.
-
The Data view, at the bottom-left of screen by default, displays your case data, such as your CDRs and geo-location data. You can switch sectors on or off using the check-boxes and you can also zoom to a location. The column headers can be customized by clicking the drop down arrow when you hover over them. The advanced filter is also a powerful tool to sort your data by applying multiple filters.
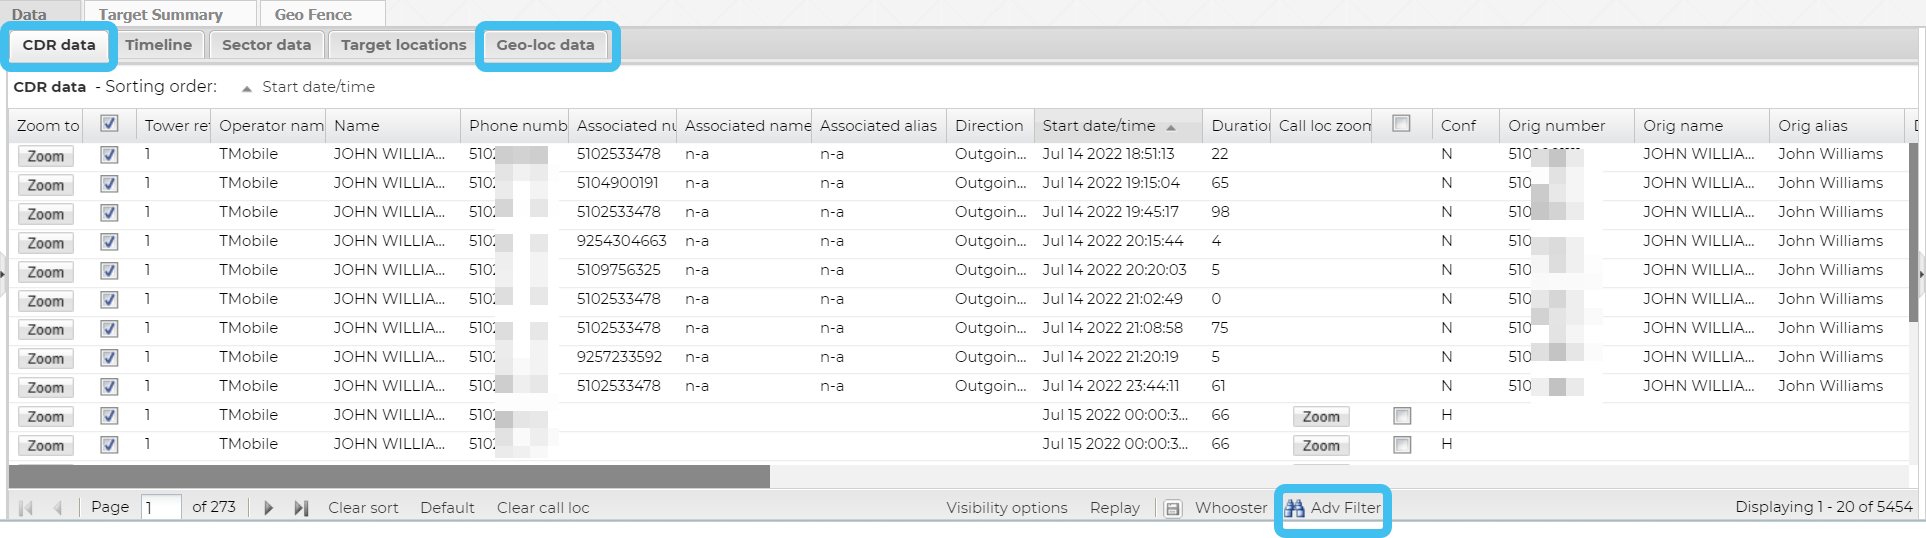
If you require more information refer to Using basic features of the data view.
-
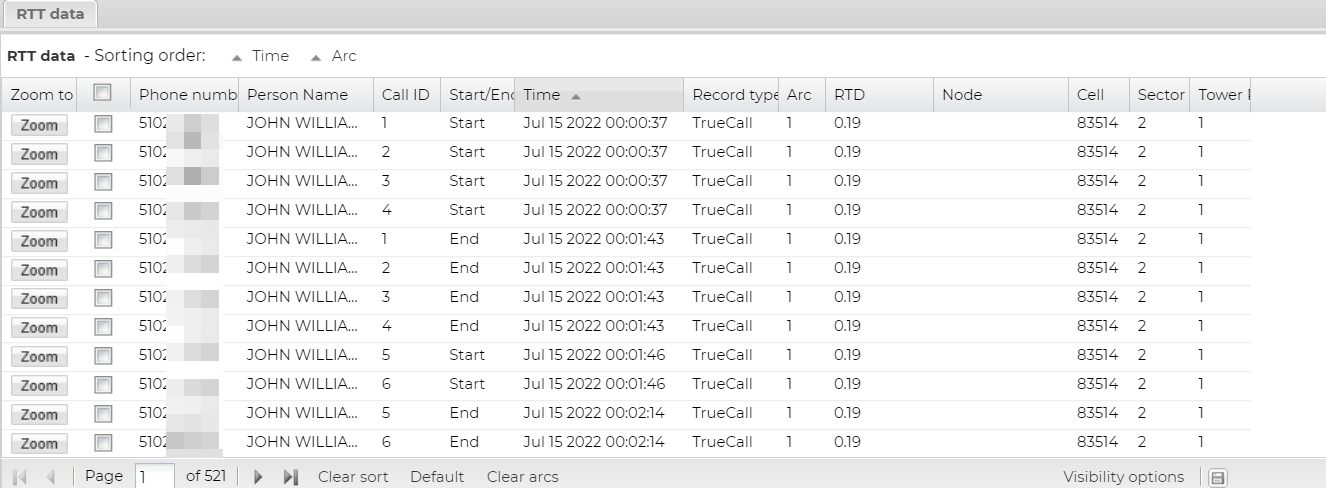
If your case contains TA data or public records, the Data view displays these by default at the bottom-right of the screen.
-
All the automated call analyses, such as Frequent numbers and Person's device at location are displayed on the Case management view's Call analysis tab, by default at the left of the screen.

If you require more information refer to Using call analyses.
This topic is a getting started example, for more detailed information refer to Using Case management and Investigating case data visually on the ESPA analysis center.